

As I dive deeper into my quarantine bread baking journey, I became fascinated with different baking and kneading techniques with essentially the same four ingredients: flour, water, yeast, and salt. The variety of bread is endless. As much as I love making French baguettes from scratch, it can be a process. Using the same four ingredients with a 75% target dough hydration, I tested different proofing time and folding techniques that I learned from my research. I came up with my new favorite rustic bread recipe. It’s so effortless and only requires some patience for the yeast to do its magic. This will be your go-to recipe for a weekday bread…it’s just too easy not to try.
This recipe makes 1 large round boule.
Ingredients:
I didn’t provide measurements in cups as I found that you need to be precise with breadmaking to have the best result. You can buy a good digital baking scale for less than $15 on amazon.
450 grams of bread flour
340 milliliters of lukewarm water
1 teaspoon of salt
1/4 teaspoon of instant yeast
Optional: 8 grams of bread improver. I find that bread improver (organic enzymes) helps make the dough crustier and airier.
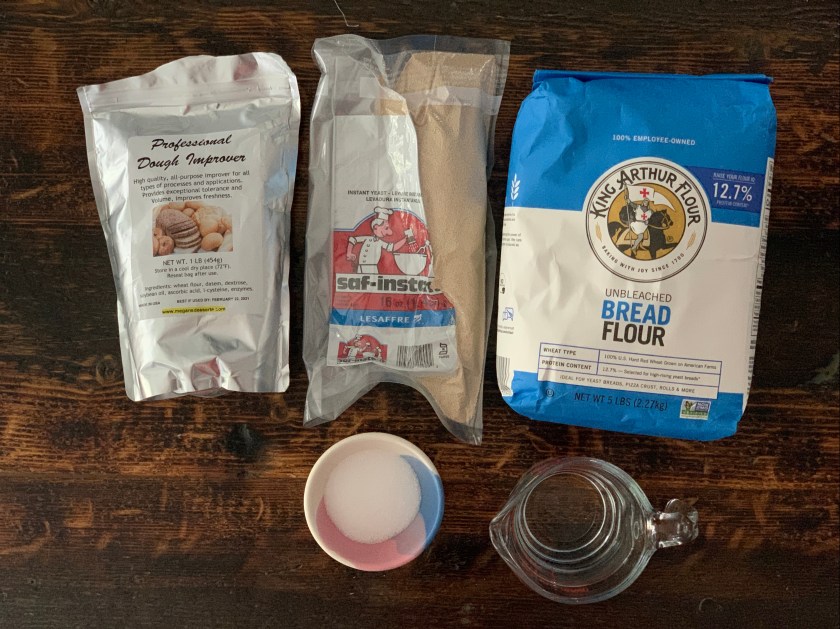
Equipment:
Dutch oven – Look for a Dutch with a 5-7 quarts capacity. If you have a smaller capacity, there won’t be enough headspace for the bread to rise, and in larger pots, bread can spread and flatten out in the process.
Directions:
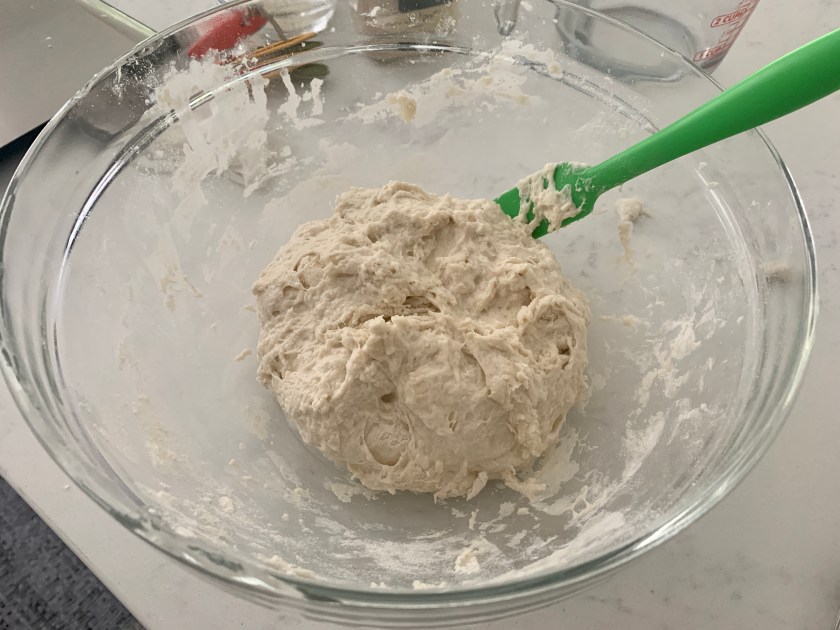
Microwave 340 milliliters of water for 30 seconds until it becomes lukewarm. Add 1/4 teaspoon of instant yeast and stir to dissolve. Cover with plastic wrap and set aside for a 5 minutes to activate.
Mix 450 grams of bread flour, 1 teaspoon of salt, and 8 grams of bread improver (optional).
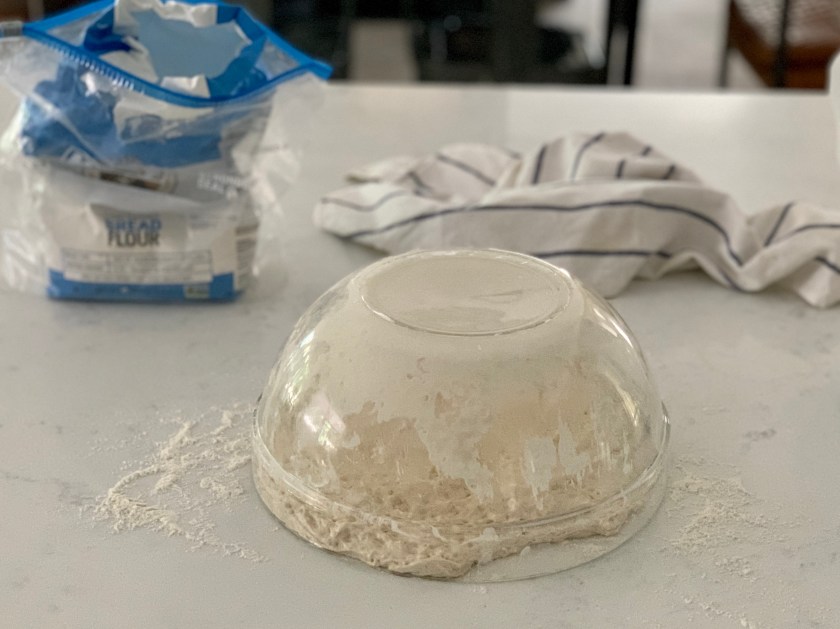
While stirring the flour mixture, slowly add water and mix until there is no dry flour left. (This takes just a few minutes.) Cover with plastic wrap and rest at room temperature (approximately 72F-75F) for up to 24 hours. The longer the dough rests, the more air bubbles will form in the dough, which creates the airy texture without much kneading.
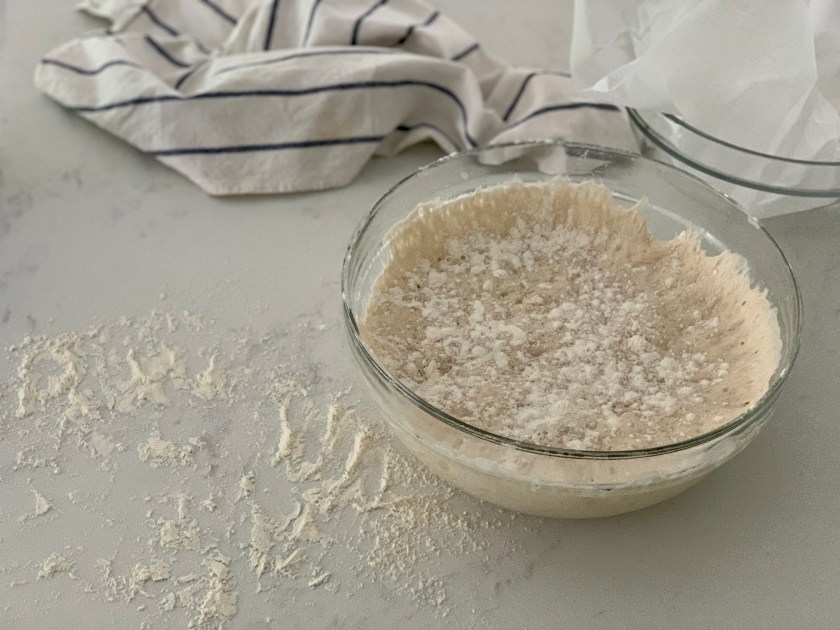
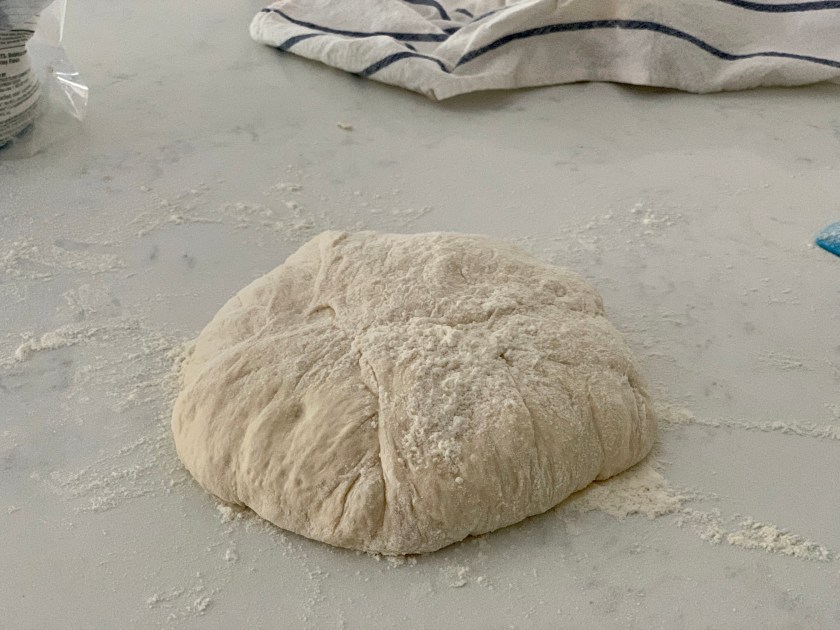
Flour your work surface and sprinkle flour on the top of the dough. Flip the bowl over and let gravity dump the wet dough (smooth side down) onto your work surface. Lightly sprinkle the top of the dough with more flour.
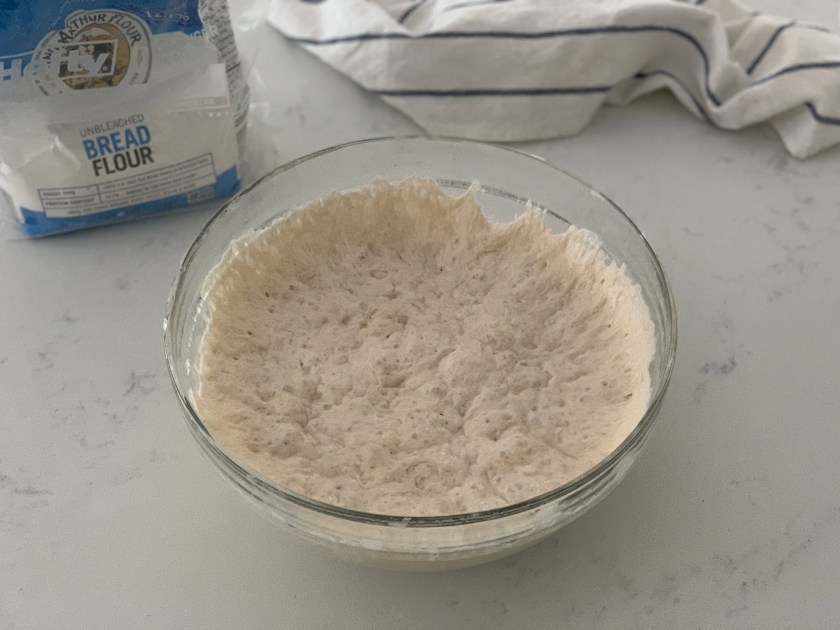
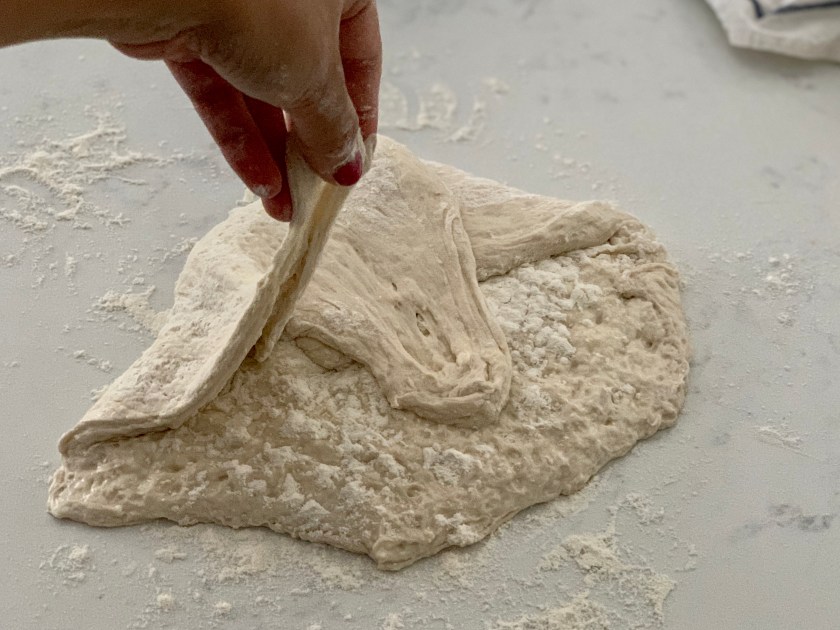
After 24 hours proofing at room temperature

Pull up, lightly stretch, and fold each side of the dough inward to form a ball. Do this twice.
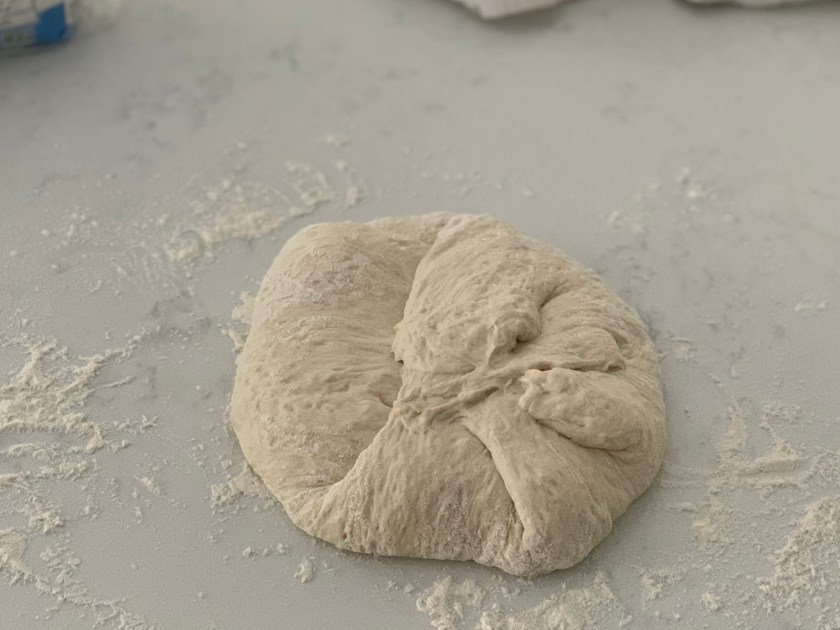
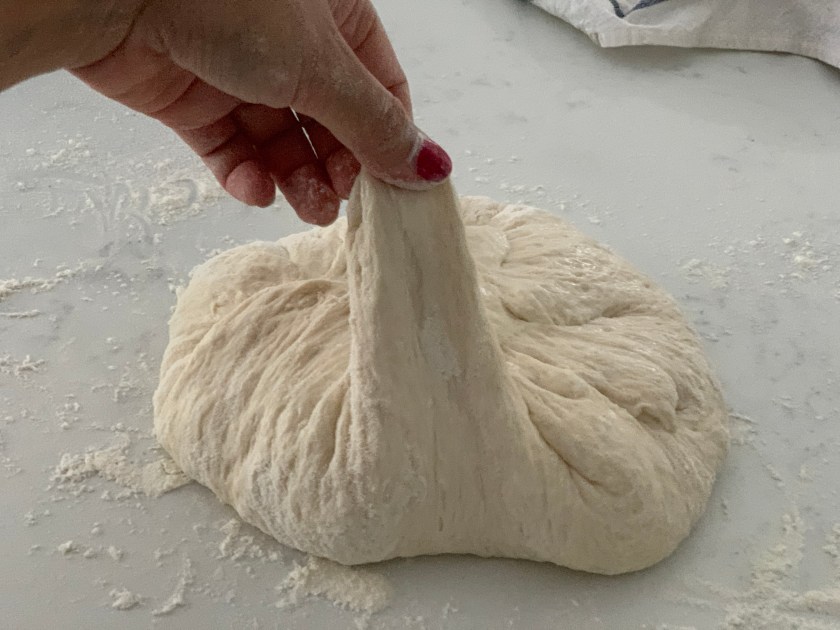
Make sure your work surface still has a nice dusting of flour. Flip the dough over. While using your palm to turn the dough in one direction, press your palm lightly into the bottom of the dough to create tension. This will shape the dough into a tighter ball that we are looking for. I usually do this for around 3 to 5 full turns.

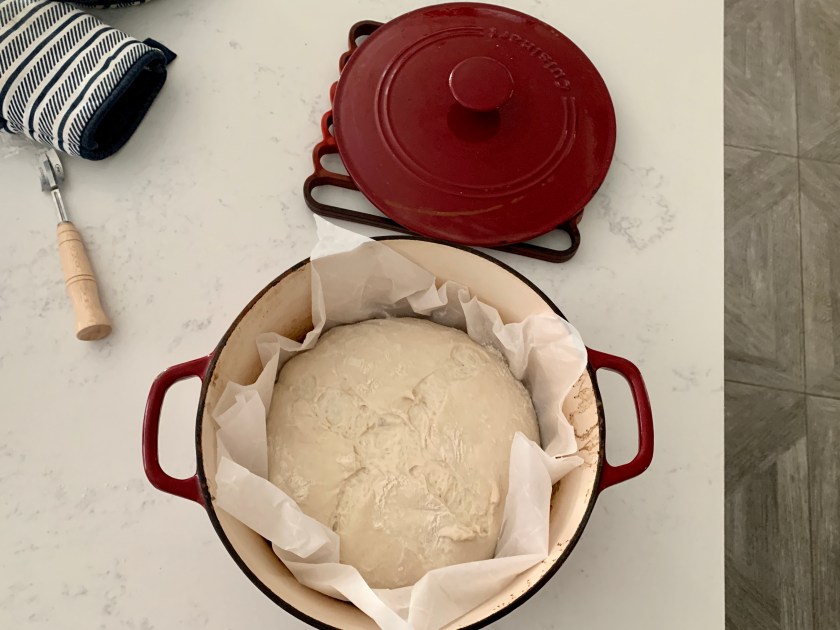
Prepare a round bowl and layer it with a large piece of parchment paper (enough to cover the bowl).
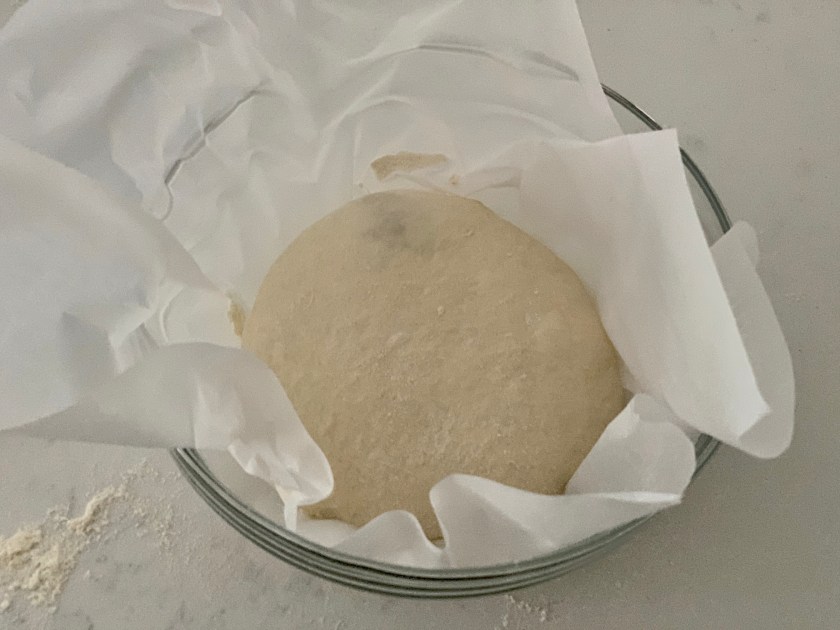
Place the dough on top of the parchment paper with the smooth side up. Dust the dough with flour, cover with plastic wrap and rest for 2 hours.
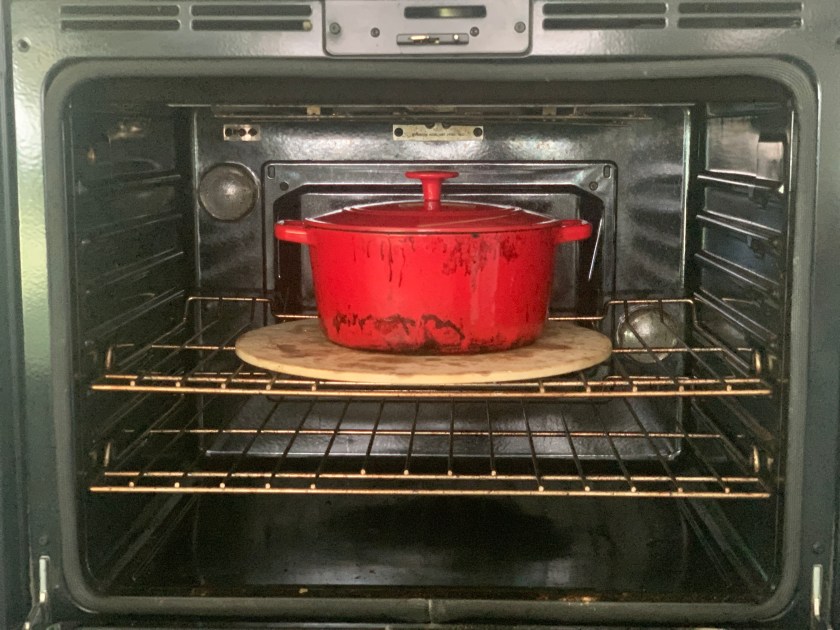
- Depending on how long your oven takes to preheat, you can time the preheating step, so that your oven is completely preheated before the proofing time ends.
- My oven takes approximately 30 minutes to heat up fully so 1.5 hours into the final proofing time, I will start preheating the oven with the Dutch oven placed on the center rack.
- Another trick I like to do is to place my Dutch oven on top of a baking stone. This helps keep a consistent temperature and creates a nice crust on the bottom of my bread.
Place the Dutch oven into the cold oven and preheat to 500F.
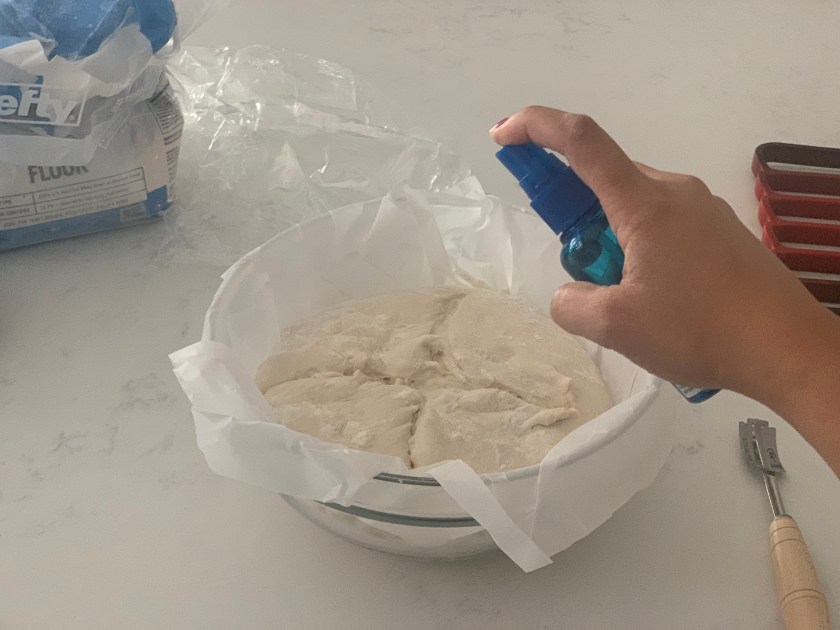
When you are ready to bake, take out the bread. Dust the top with another light layer of flour.
Score the top part of the bread with a sharp knife. You can do one slash across the top of the bread or a cross sign. Do not cut too deep into the dough otherwise, the air deflates and you lose the firm ball shape.

Spray the opening with some water. This will keep that section from baking right away and helps the dough expand, which makes the bread light and airy.
Carefully remove the Dutch oven from the hot oven and place the dough with the parchment paper into the pot and close the lid.
Place the Dutch oven back into the oven, turn the oven temperature to 450F, and bake for 30 minutes.
After 30 minutes, remove the lid and bake at 425F for another 10 minutes. I would check it around 5 minutes and make sure that your bread color is not too dark and is to your preference.
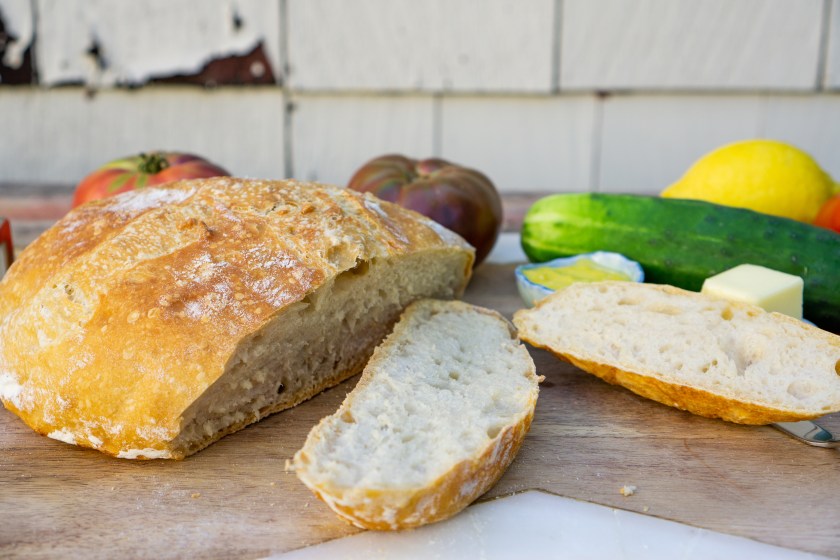
After 10 minutes, remove the bread from the Dutch oven and let it cool on a cooling rack.
Optional: I like to put my bread back into the oven without the pot or the parchment paper for another 3 minutes to get a little darker and crustier.


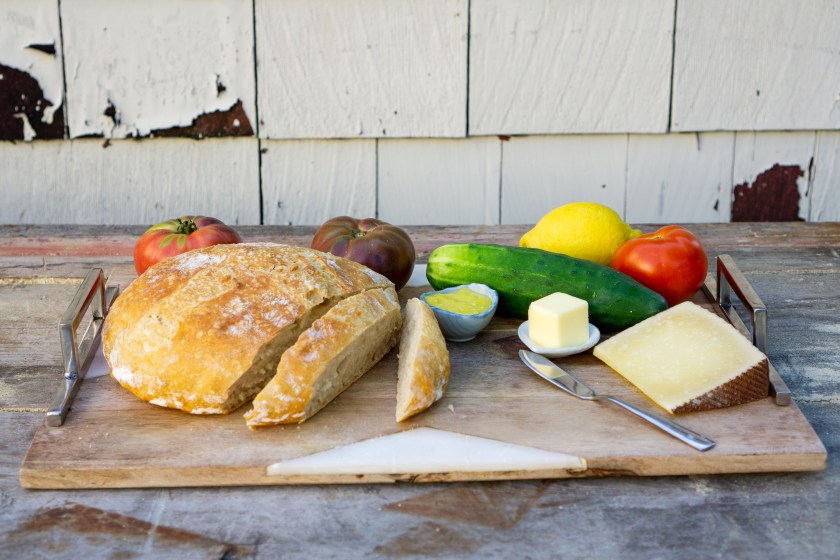
Enjoy this bread at your next meal.
For more recipes, visit our EAT page or Recipe Index.
Authors: Chau Hoang
Photo Editing: Kevin Nguyen (https://www.kevwin.com/)

This is such a beautiful loaf of bread! I looks so tasty 🙂
LikeLiked by 1 person