

I have successfully made traditional French baguettes with the stretch and fold kneading techniques; however, the whole process can be quite labor-intensive and require some acumen to work with the wet dough. After teaching my younger cousin how to make traditional baguettes and seeing how he struggled with the wet dough, I wanted to make a beginner-friendly version. I tested different techniques and proofing time and came back to my No-Knead Artisan Bread recipe. I figure why not use that as a basis since the bread came out with a nice crust and airy insides. Low and behold, it works! Although the no-knead baguette will not be as crusty or springy as using the stretch and fold technique, it still has a similar texture and taste of a more traditional baguette. The differences between the two baguettes are marginal unless you are a die-hard bread connoisseur.
Serving Size: 3 large baguette / Difficulty: Easy / Time: Rest time of up to 26 hours – Work time of 15-30 minutes
Ingredients:
450 grams of bread flour
340 millilitres of lukewarm water
1 teaspoon of salt
1/4 teaspoon of instant yeast
Optional: 8 grams of bread improver. I find that bread improver (organic enzymes) helps to make the dough crustier and airier, especially for these no-knead baguettes. This bread improver really helps to bridge the gap between the traditional baguettes and this beginner friendly version.
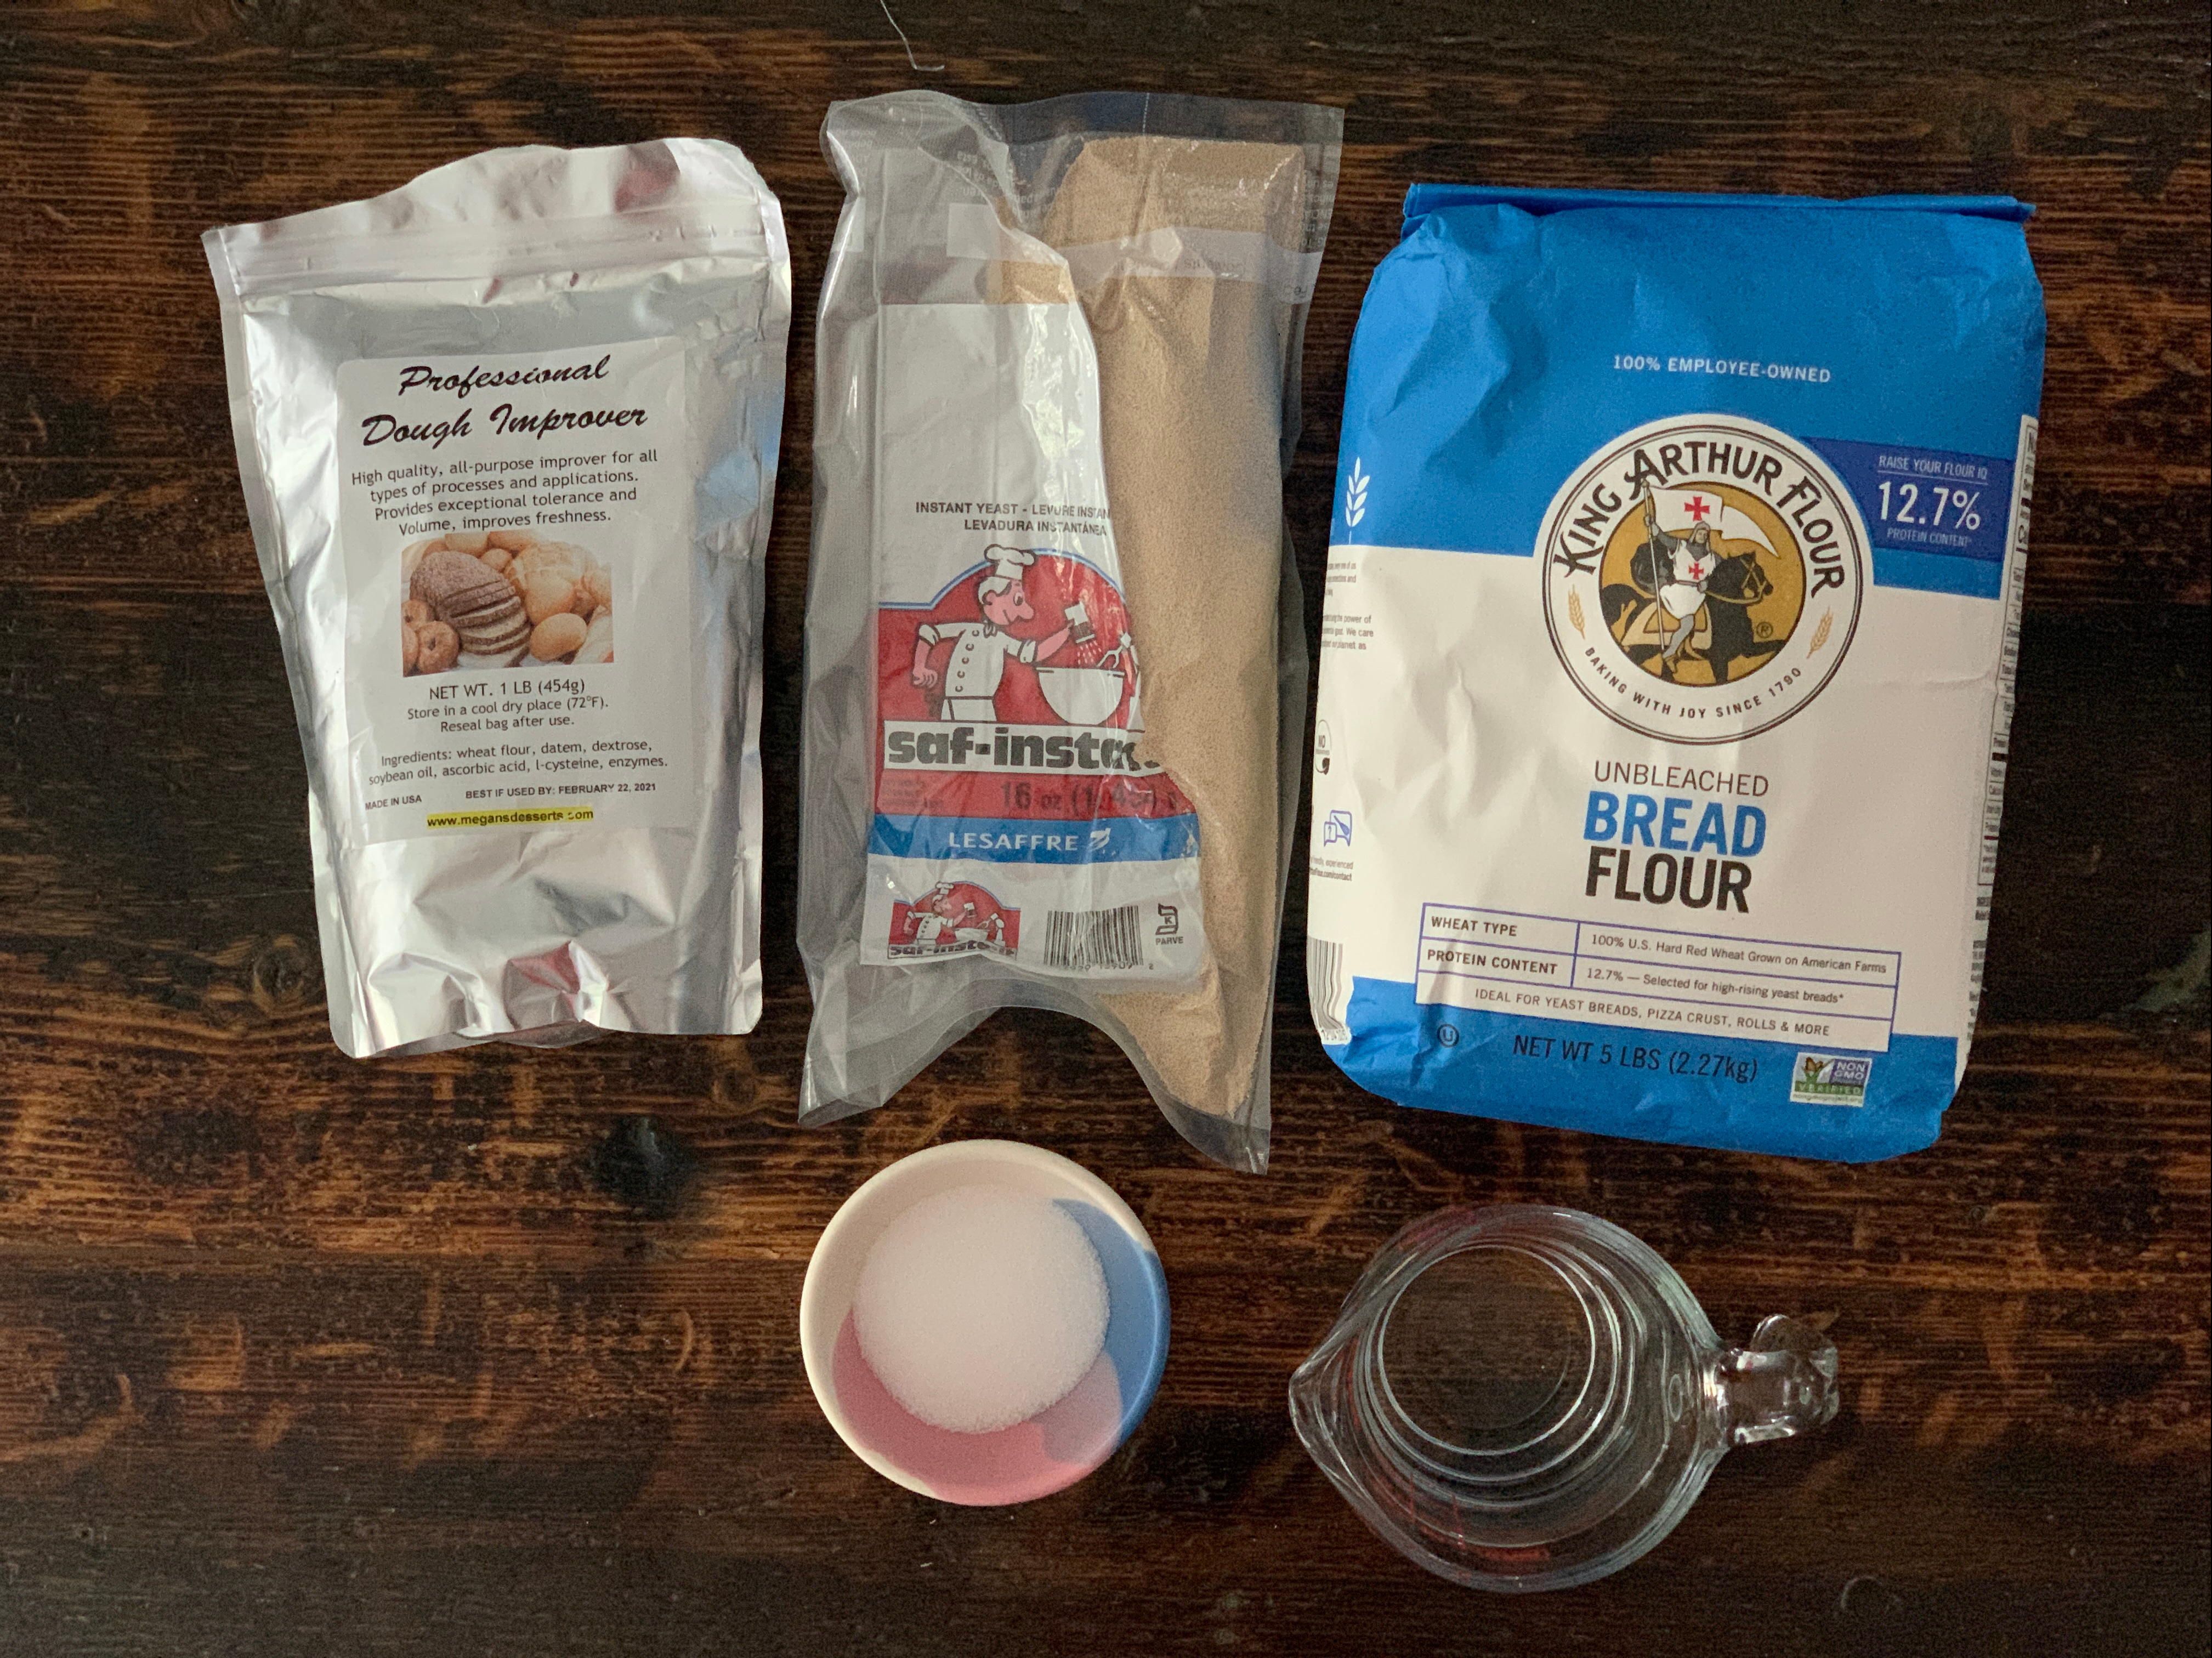
I didn’t provide measurements in cups as I found that you do need to be precise with bread making to have the best results. You can buy a good digital baking scale for less than $15 on Amazon.
Equipment:
A baking stone or flip your baking tray upside down to create a flat baking surface.
Water spritzer
Tray for water
Optional: Lava rocks or river rocks that can hold onto heat. This helps to create the initial burst of steam and keep the oven misty.
Directions:
Microwave 340 ml of tap water for 30 seconds until it becomes lukewarm. Add 1/4 teaspoon of instant yeast and stir to dissolve. Cover with plastic wrap and set aside for 5 minutes to activate.
Mix 450 grams of bread flour, 1 teaspoon of salt, and 8 grams of bread improver (optional).
While stirring the flour mixture, slowly add water and mix until there is no dry flour left. (This takes just a few minutes.) Cover with plastic wrap and rest at room temperature (approximately 72F-75F) for up to 24 hours. The longer the dough rests, the more air bubbles will form in the dough, which creates the airy texture without much kneading.

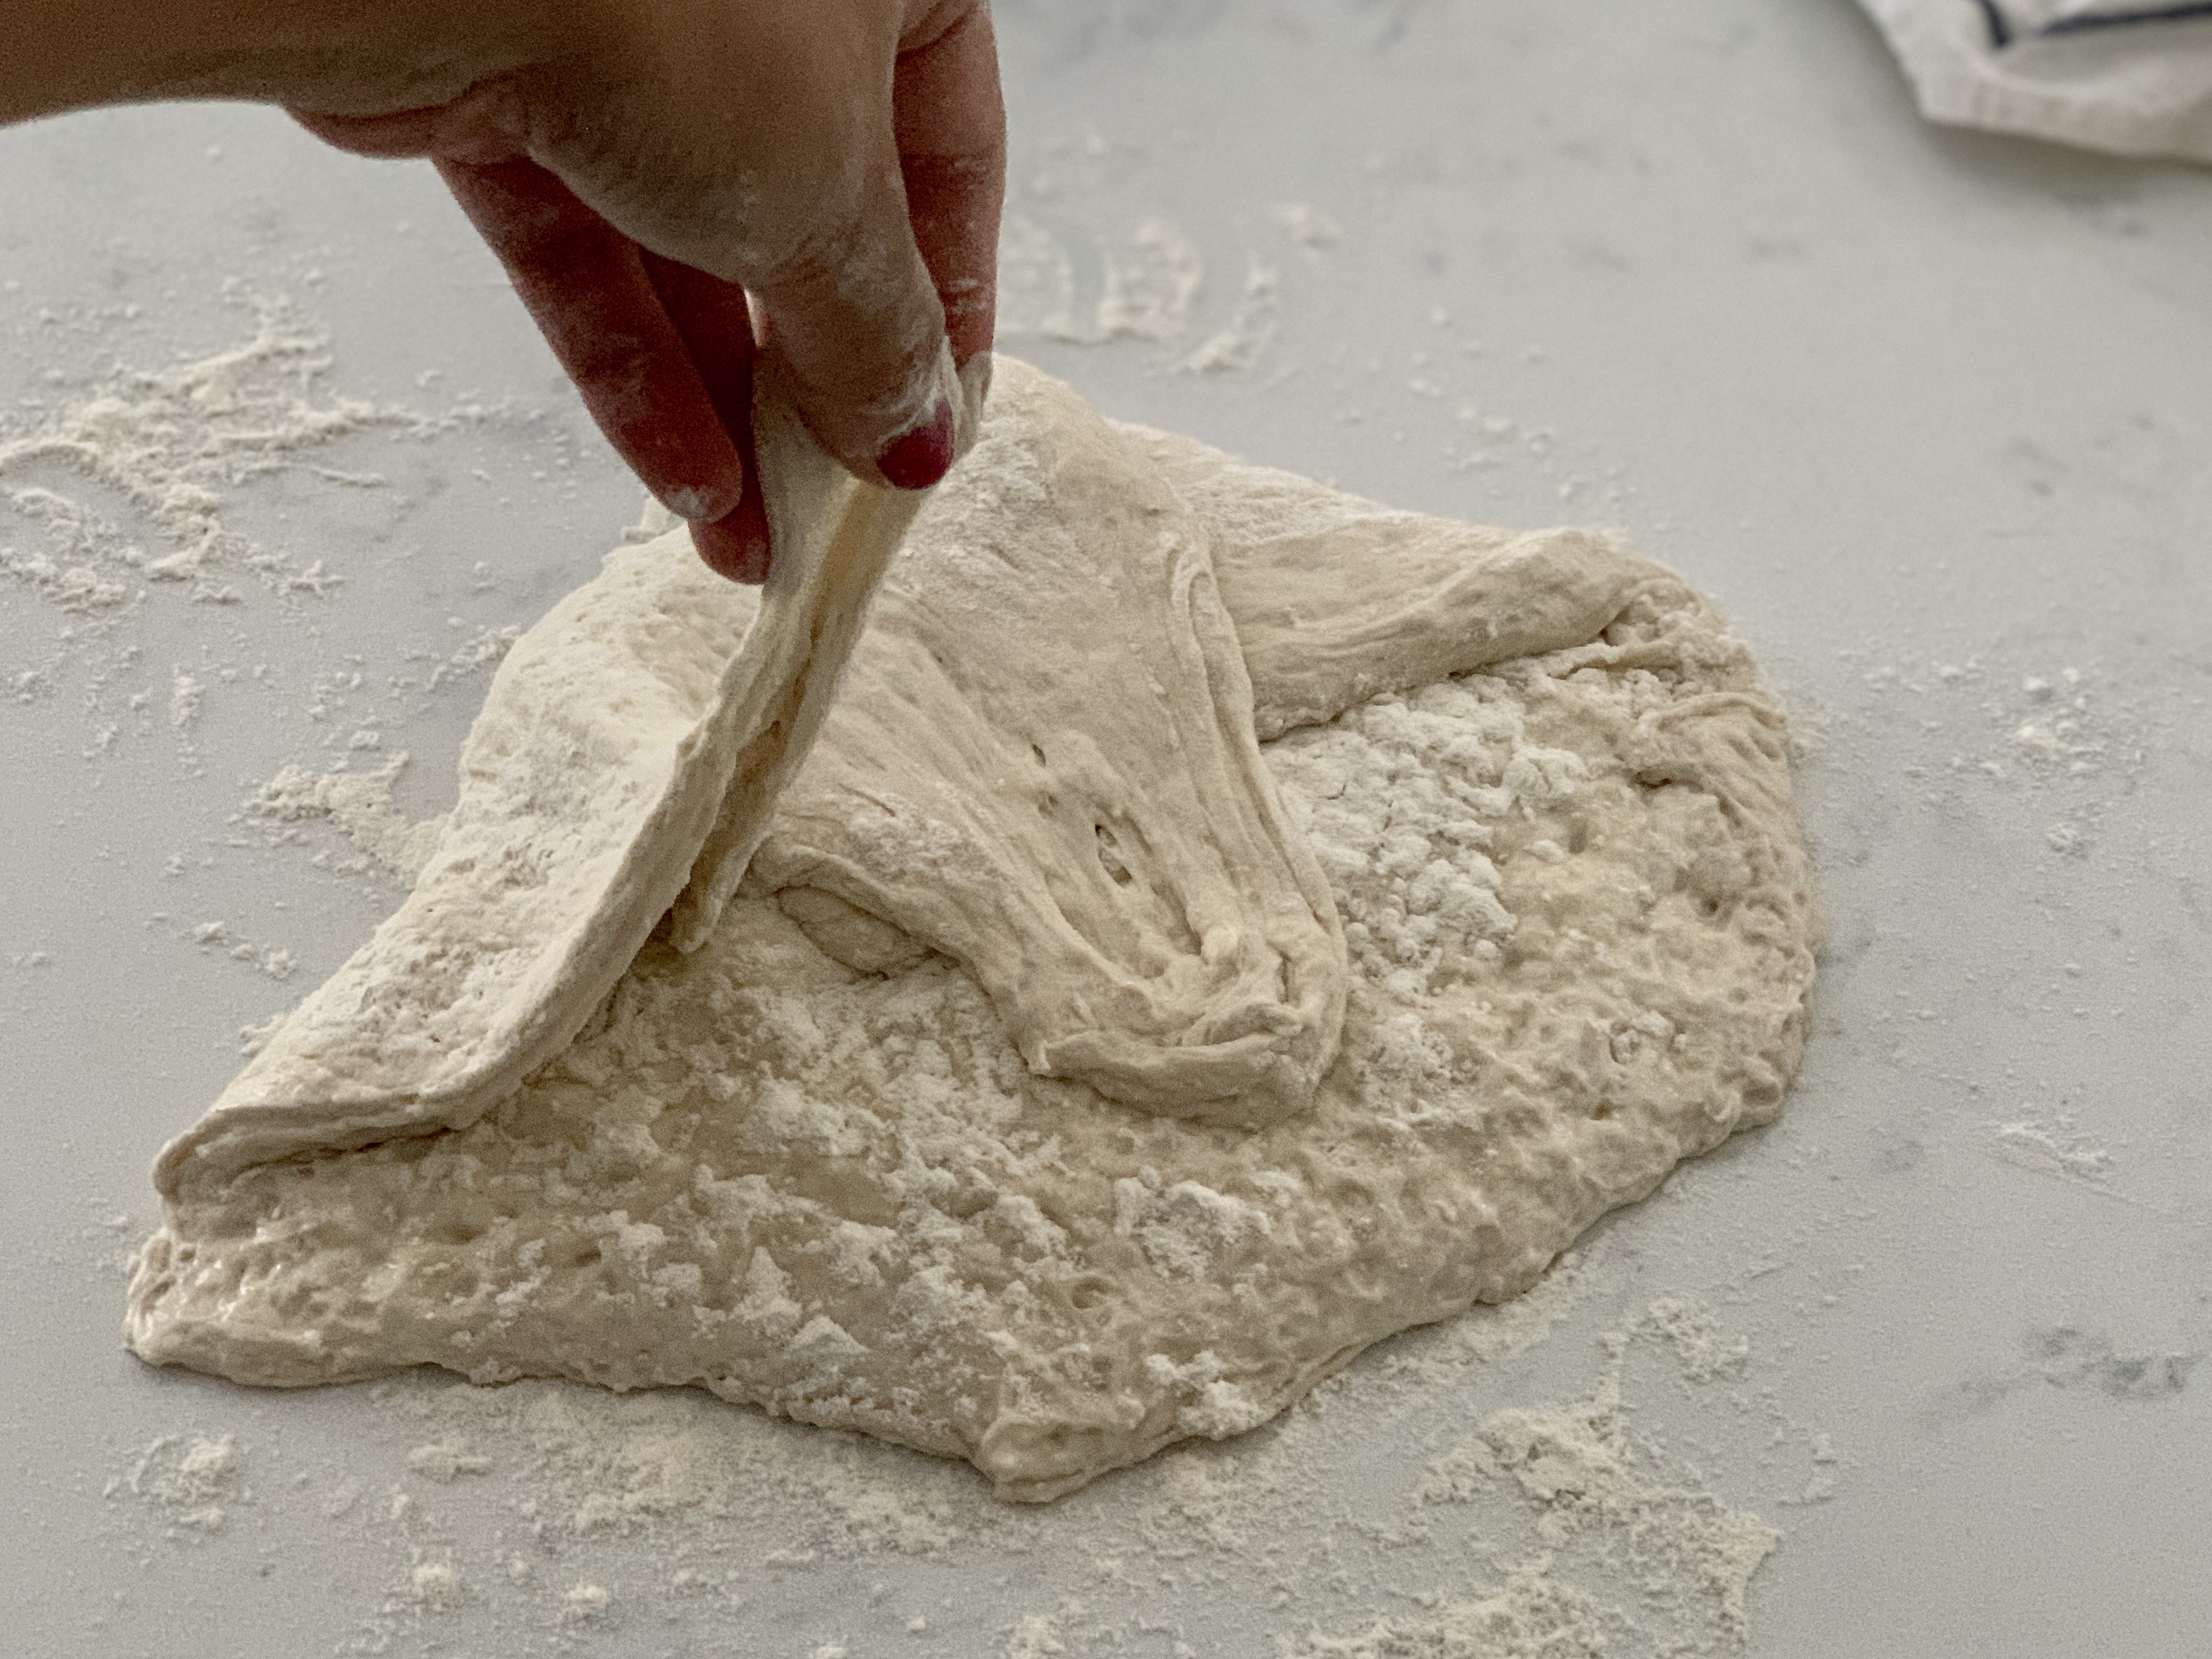
Flour your work surface and sprinkle flour on the top of the dough. Flip the bowl over and let gravity dump the wet dough (smooth side down) onto your work surface. Lightly sprinkle the top of the dough with more flour.


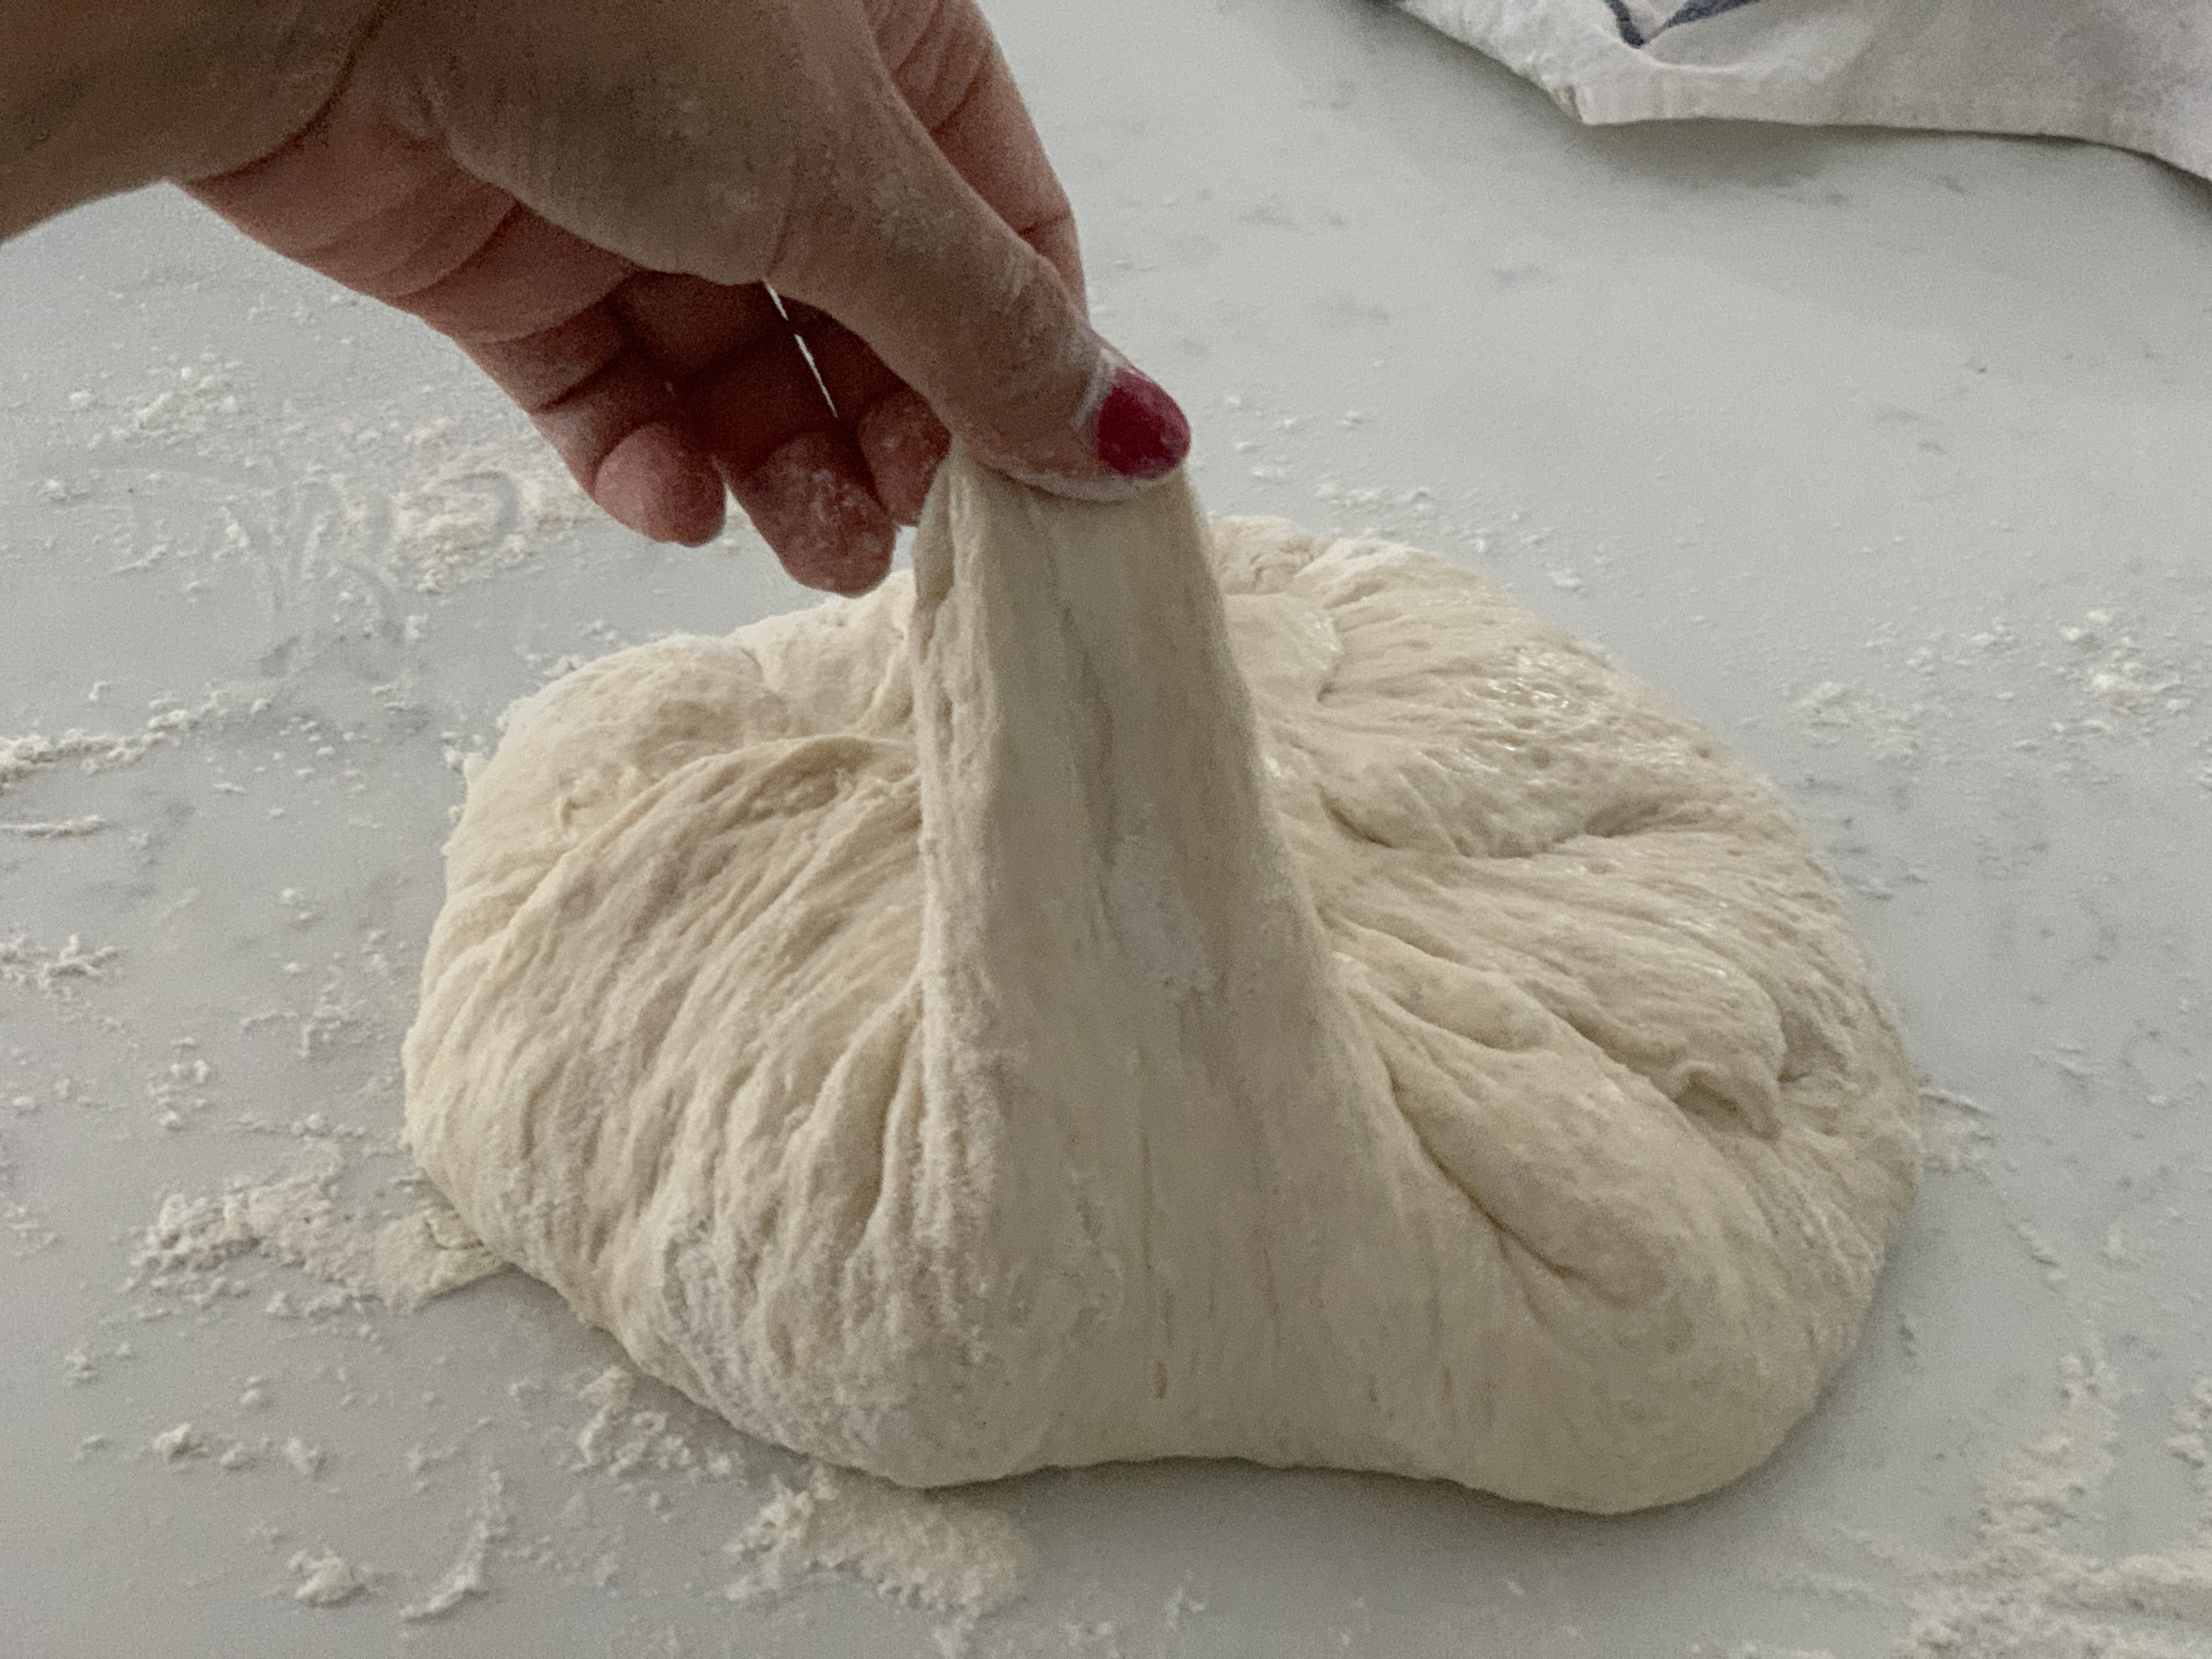
Pull up, lightly stretch, and fold each side of the dough inward to form a ball. Do this twice.
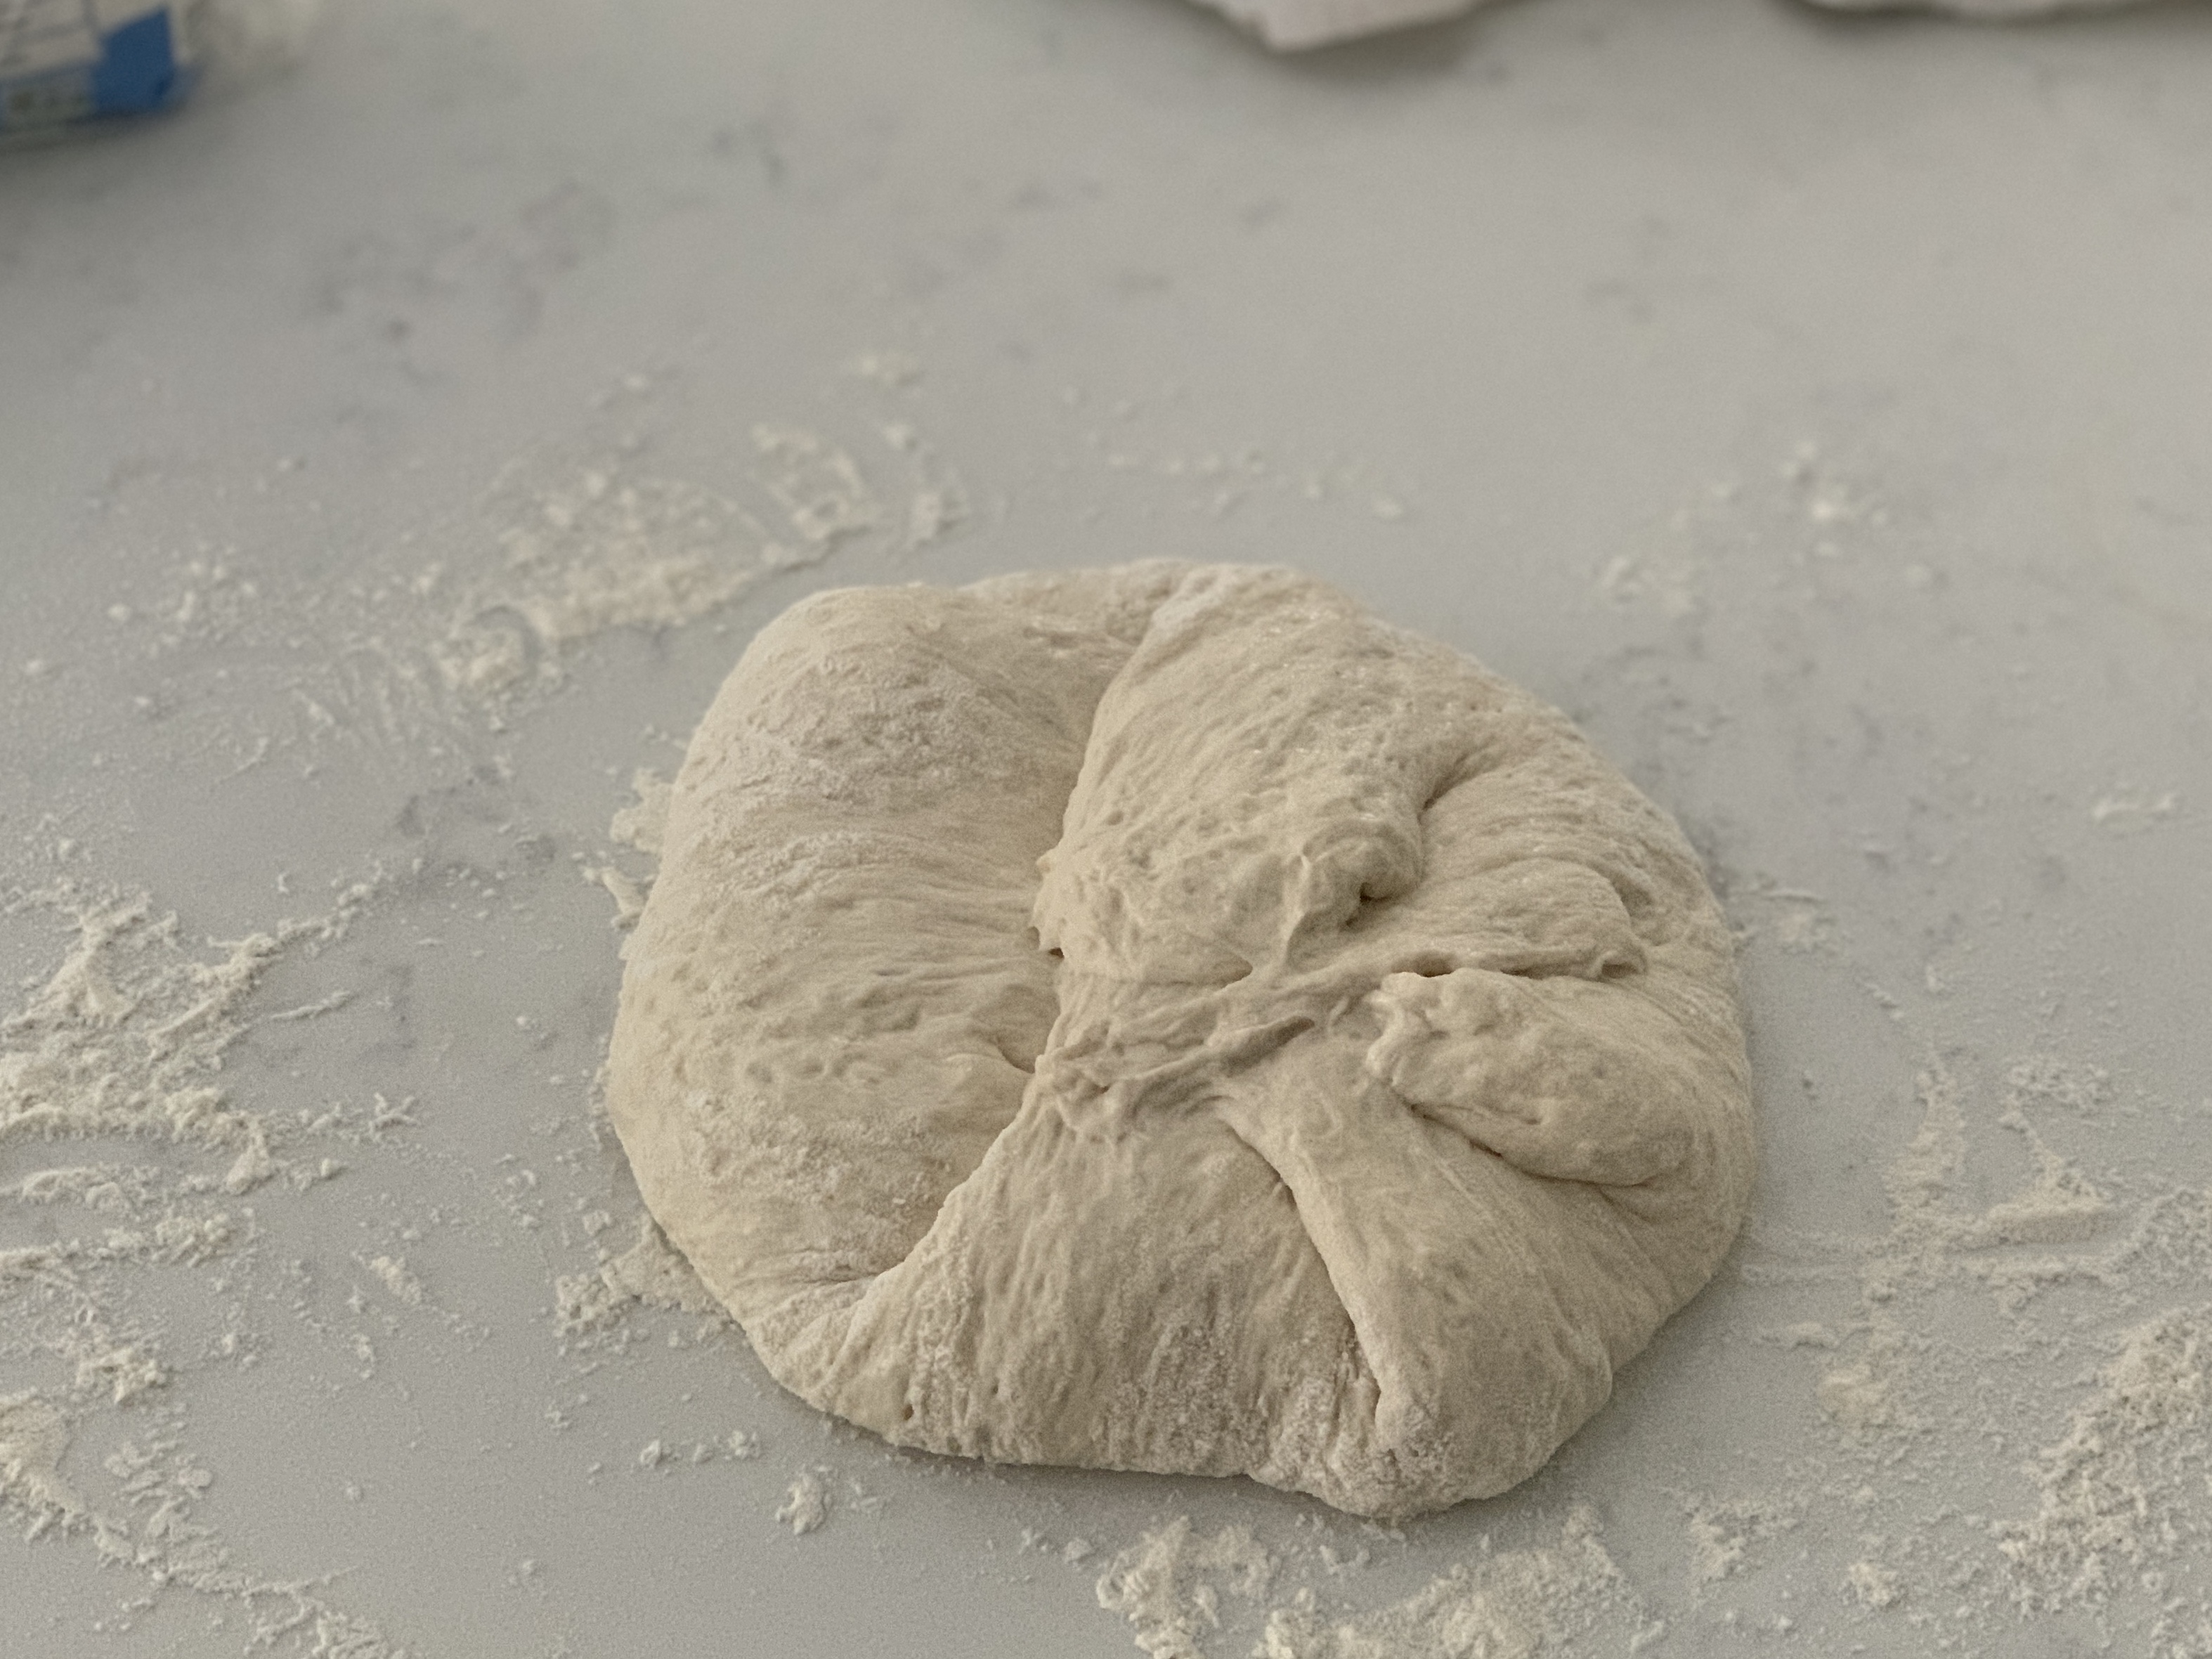

Divide the ball into 3 equal parts.
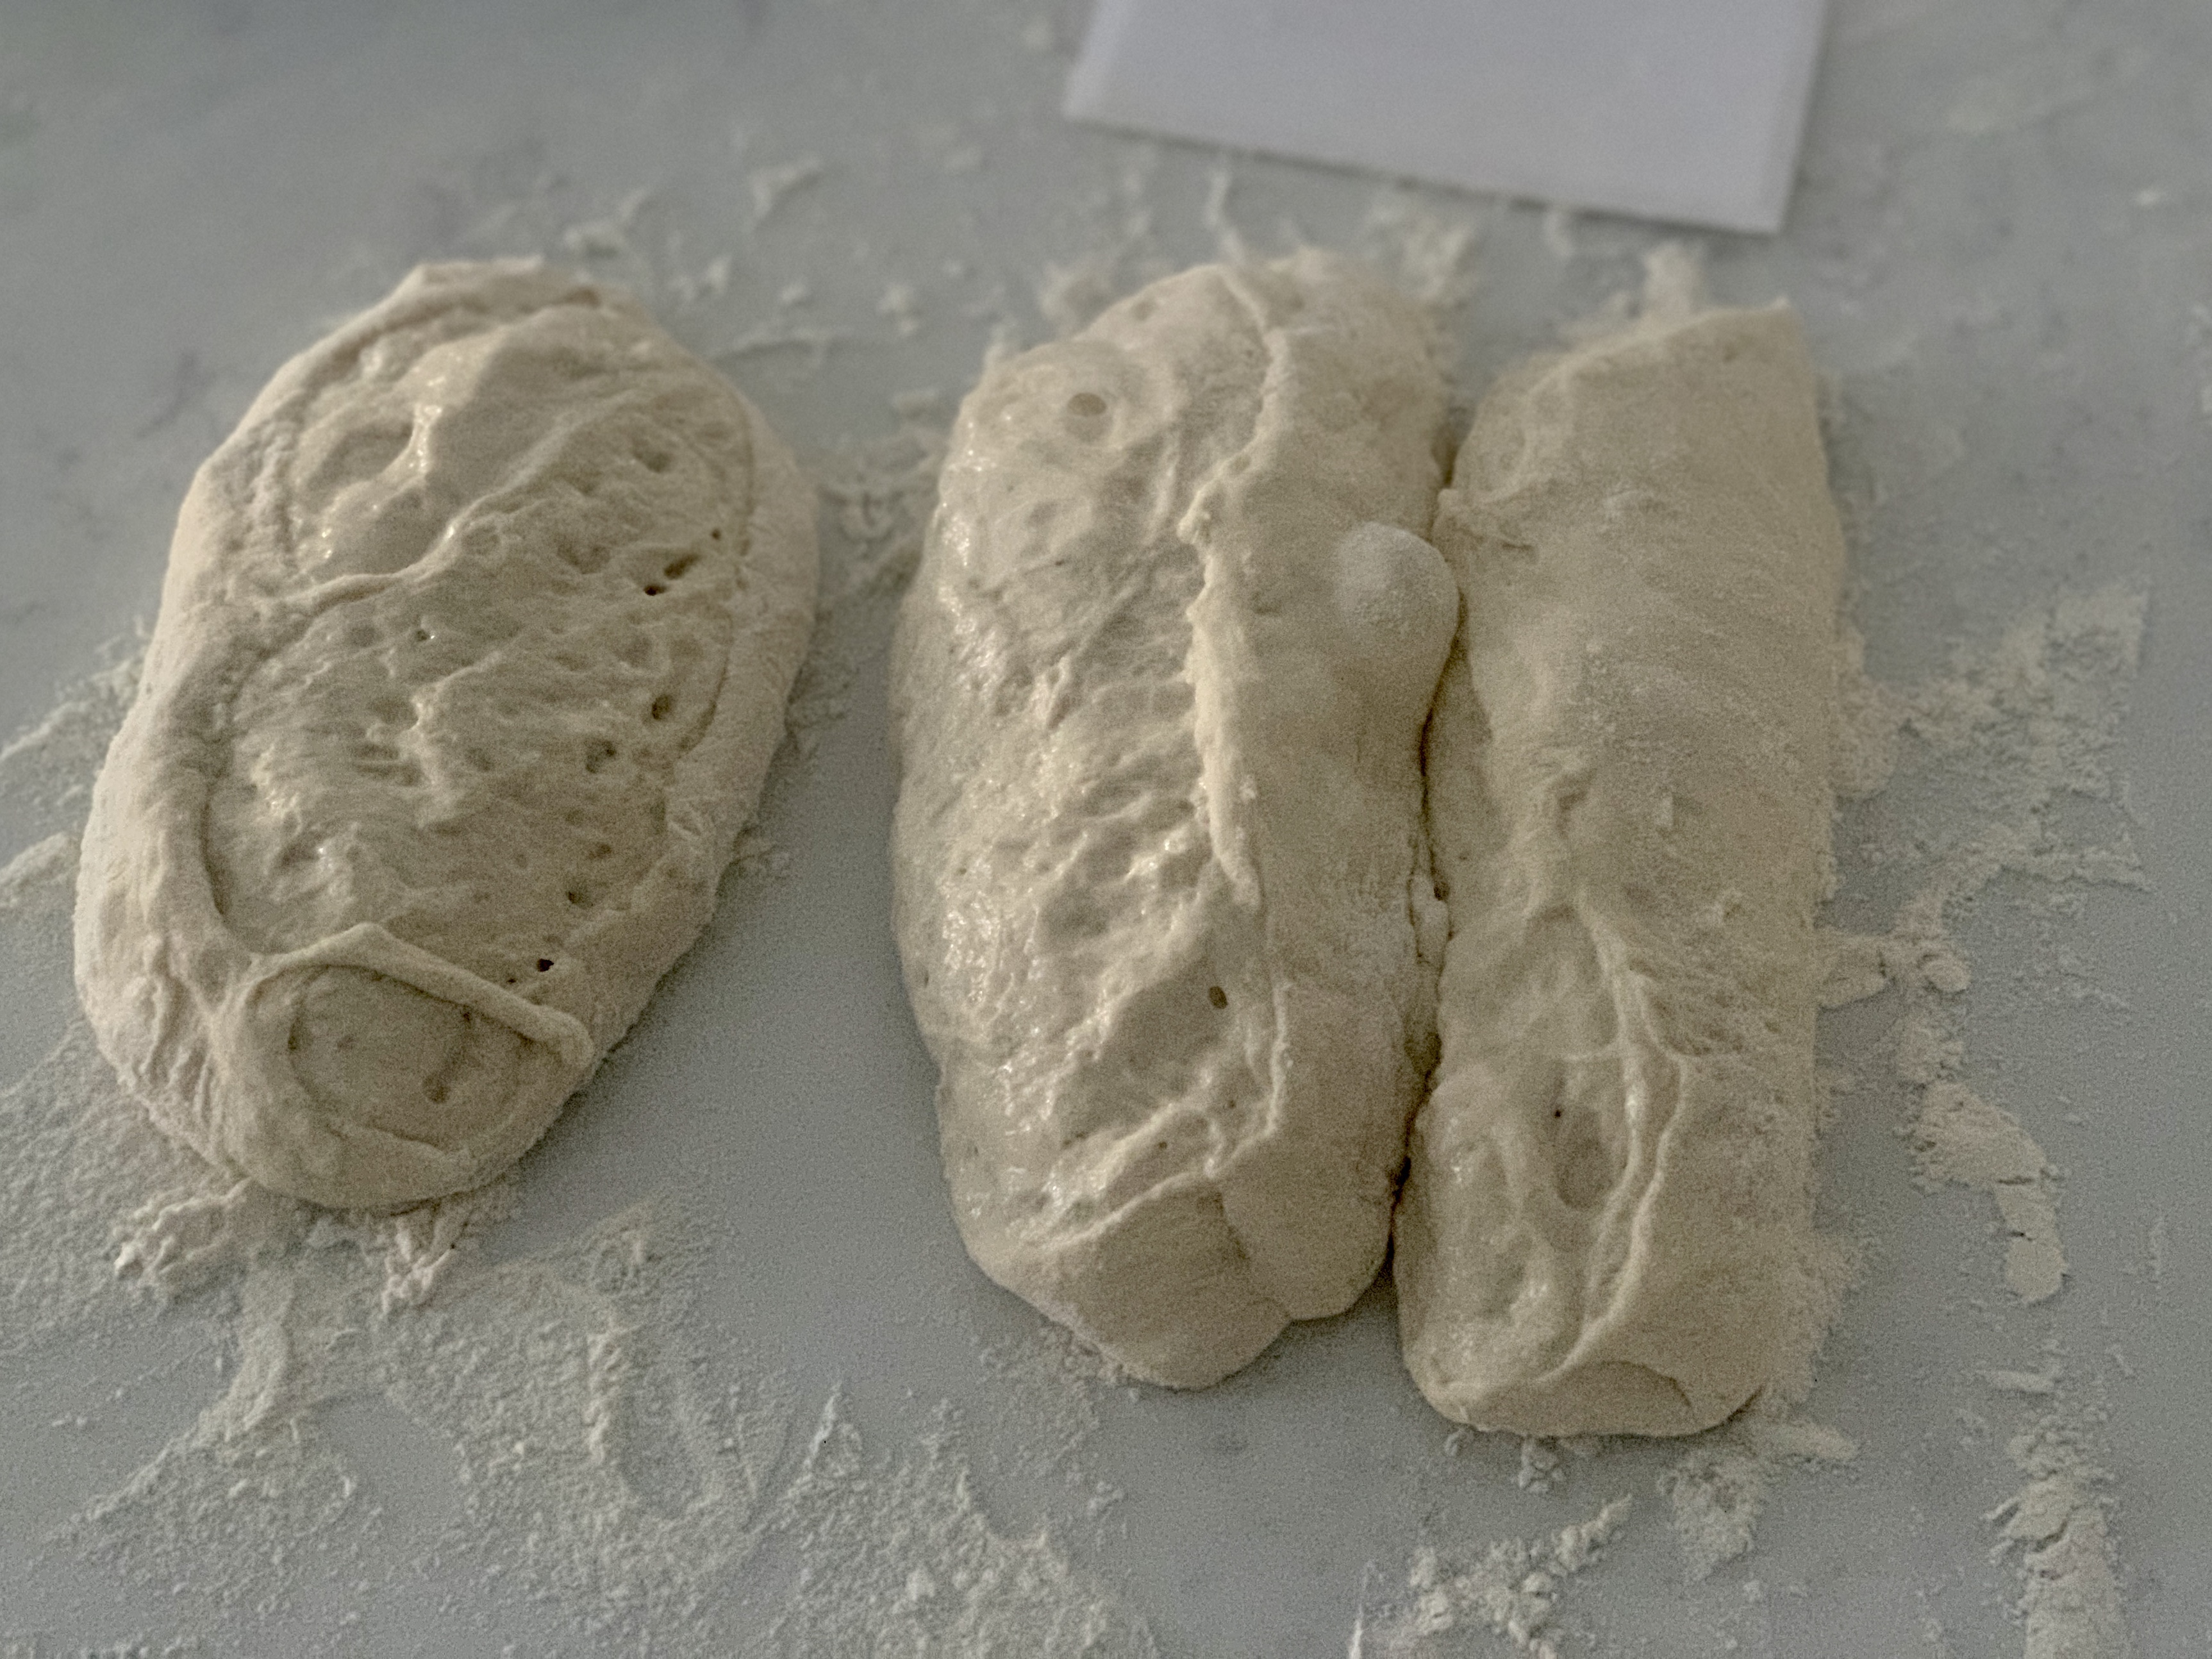
Using more flour as needed, pinch the wet cut side of the dough together to form into smaller balls.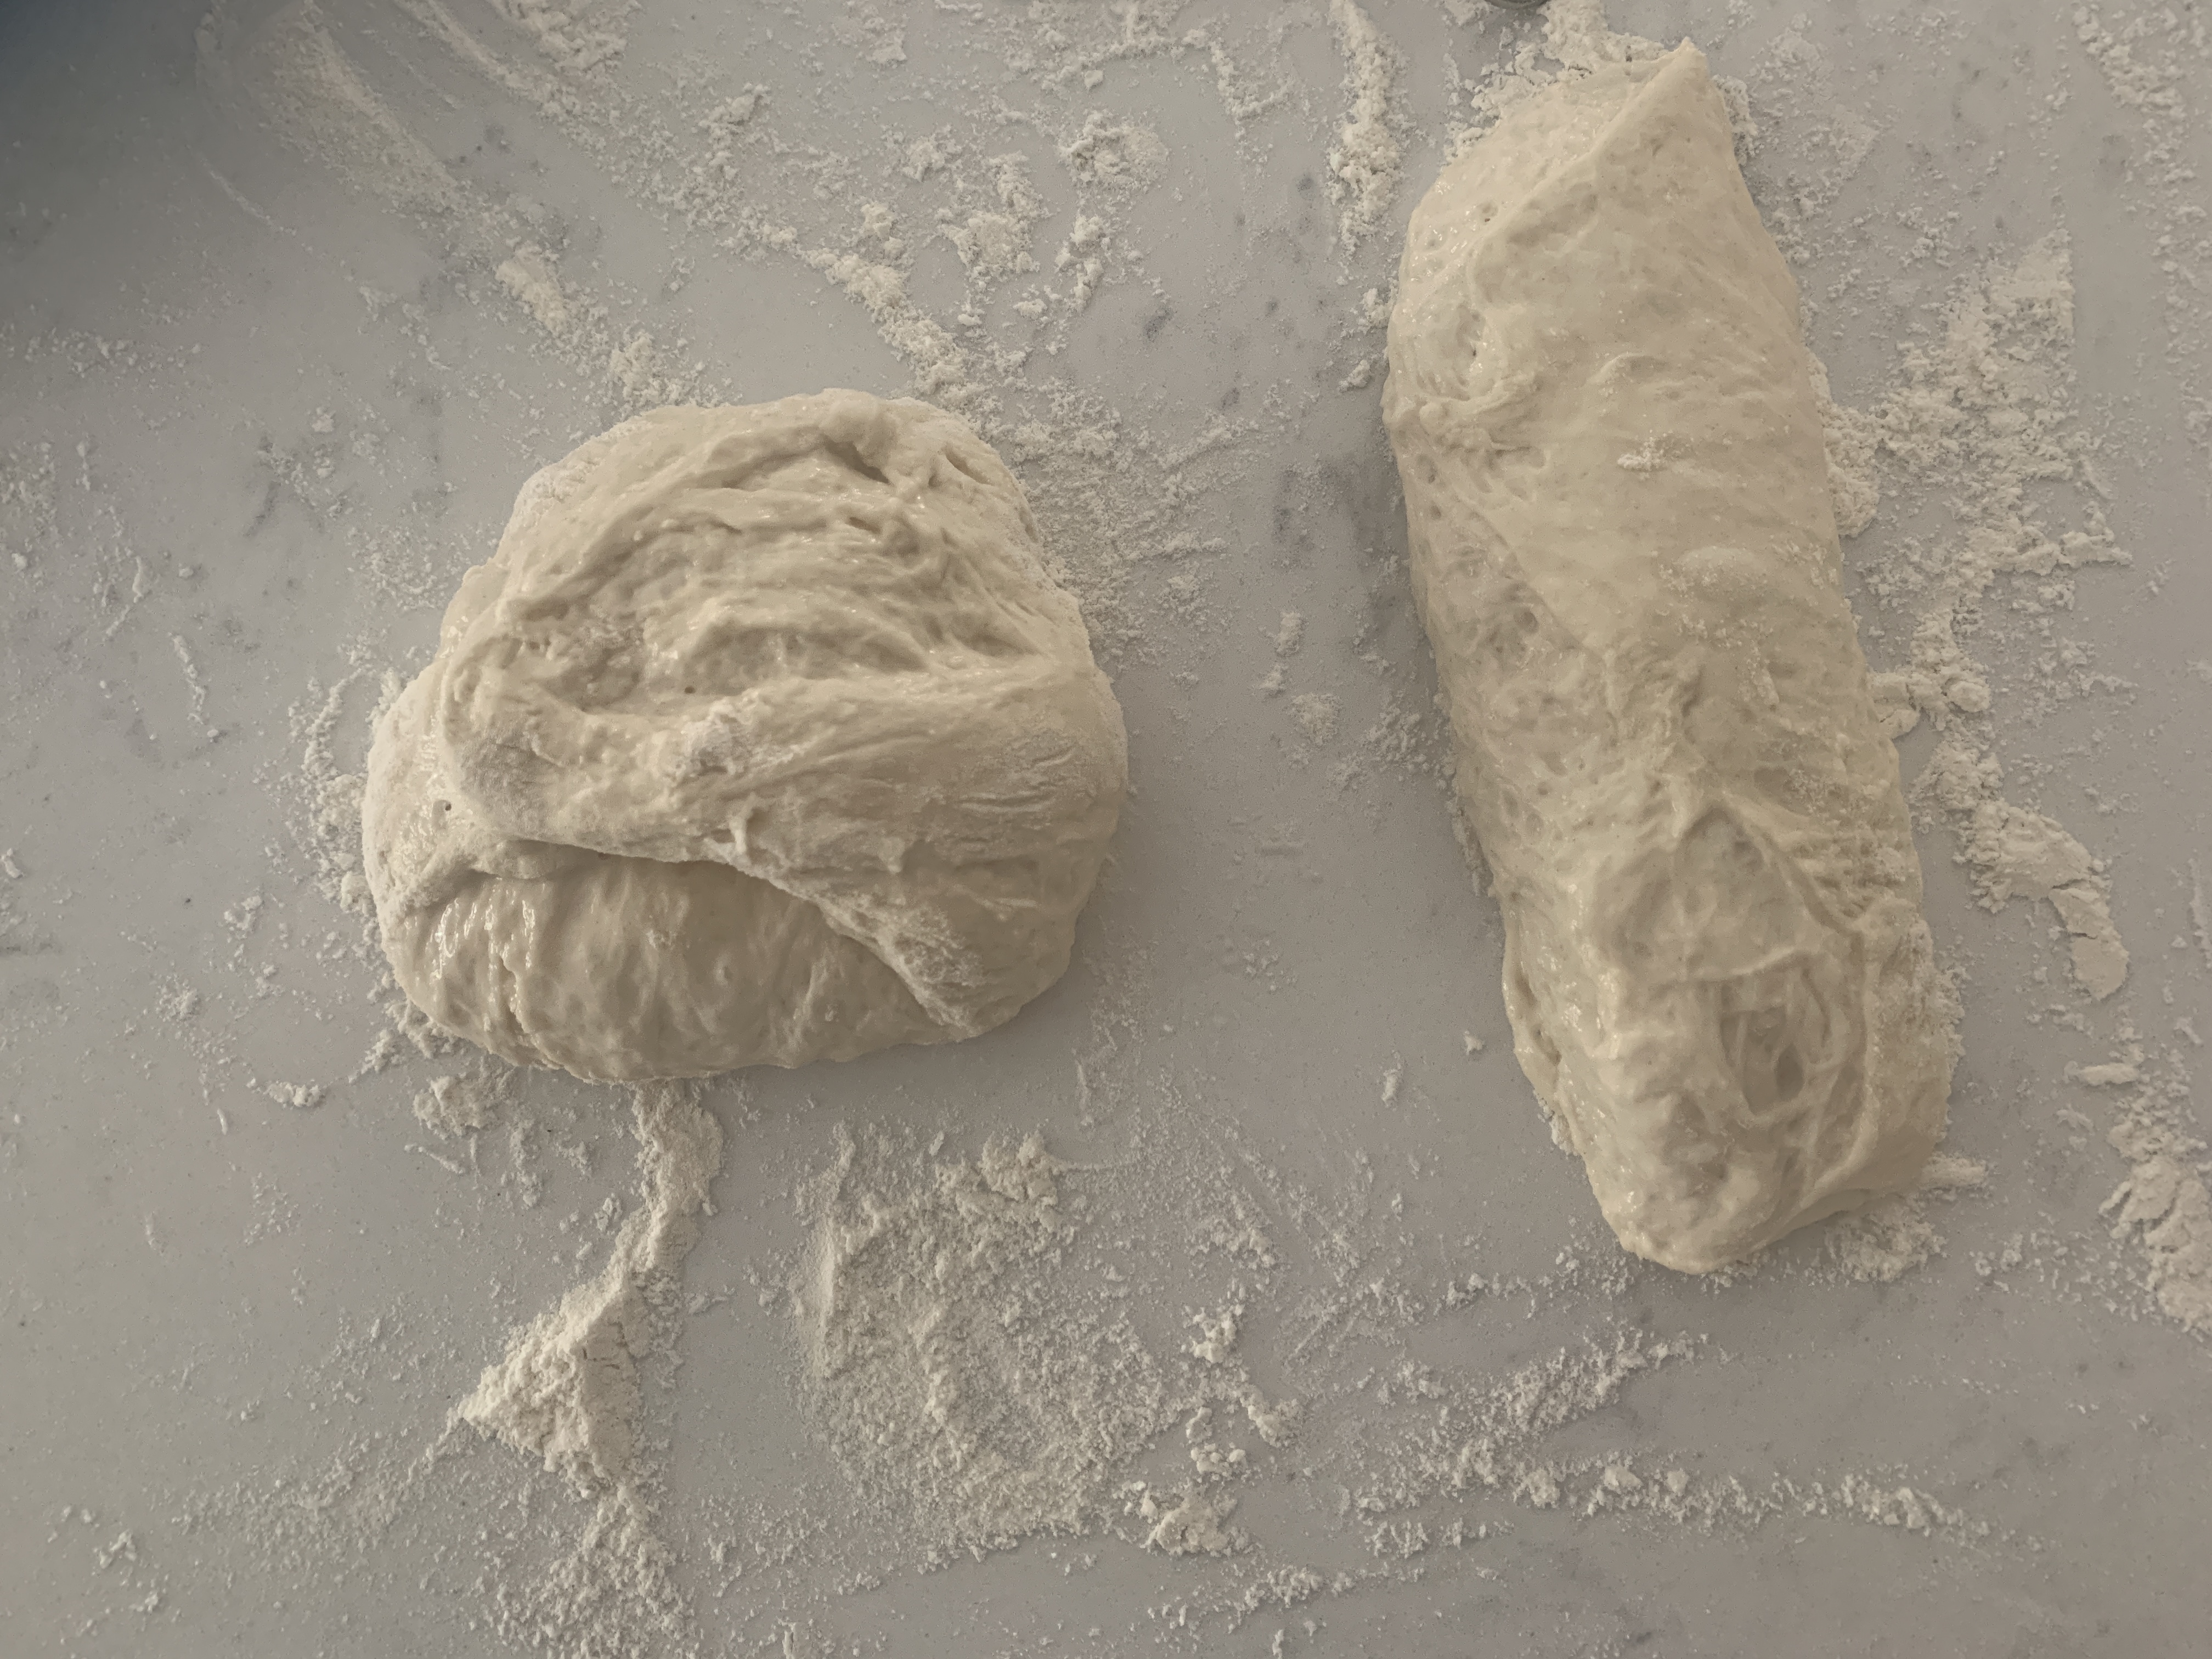
Flip the dough over. While using your palms to turn the dough in one direction, press your palms lightly into the bottom of the dough to create tension. This will shape the dough into a tighter ball that we are looking for. I usually do this for around 3 to 5 full turns. If the dough still feels sticky, just sprinkle more flour onto your hands and the dough.
Let the dough rest for 1 hour.
After 1 hour, form the baguettes by doing the following:
Step 1: Pull one side over. While pressing down with both thumbs at the seam, push the dough away from you seal the seam.


Step 2: Turn the dough 180 degree. Pull both sides inward and repeat step 1.


Step 3: Pull the side farthest away from you over and press down and away from you to seal with your 2nd fingers (for a smaller seams). Do this 2 times.


Step 4: Put your left thumb at the seam and while moving your left hand toward the left side of the baguette, pull the dough over the thumb with your left or right hand and press down hard with your right palm to seal the seam. This will help to create a straight and clean edge. Do this until you have sealed the entire baguette.
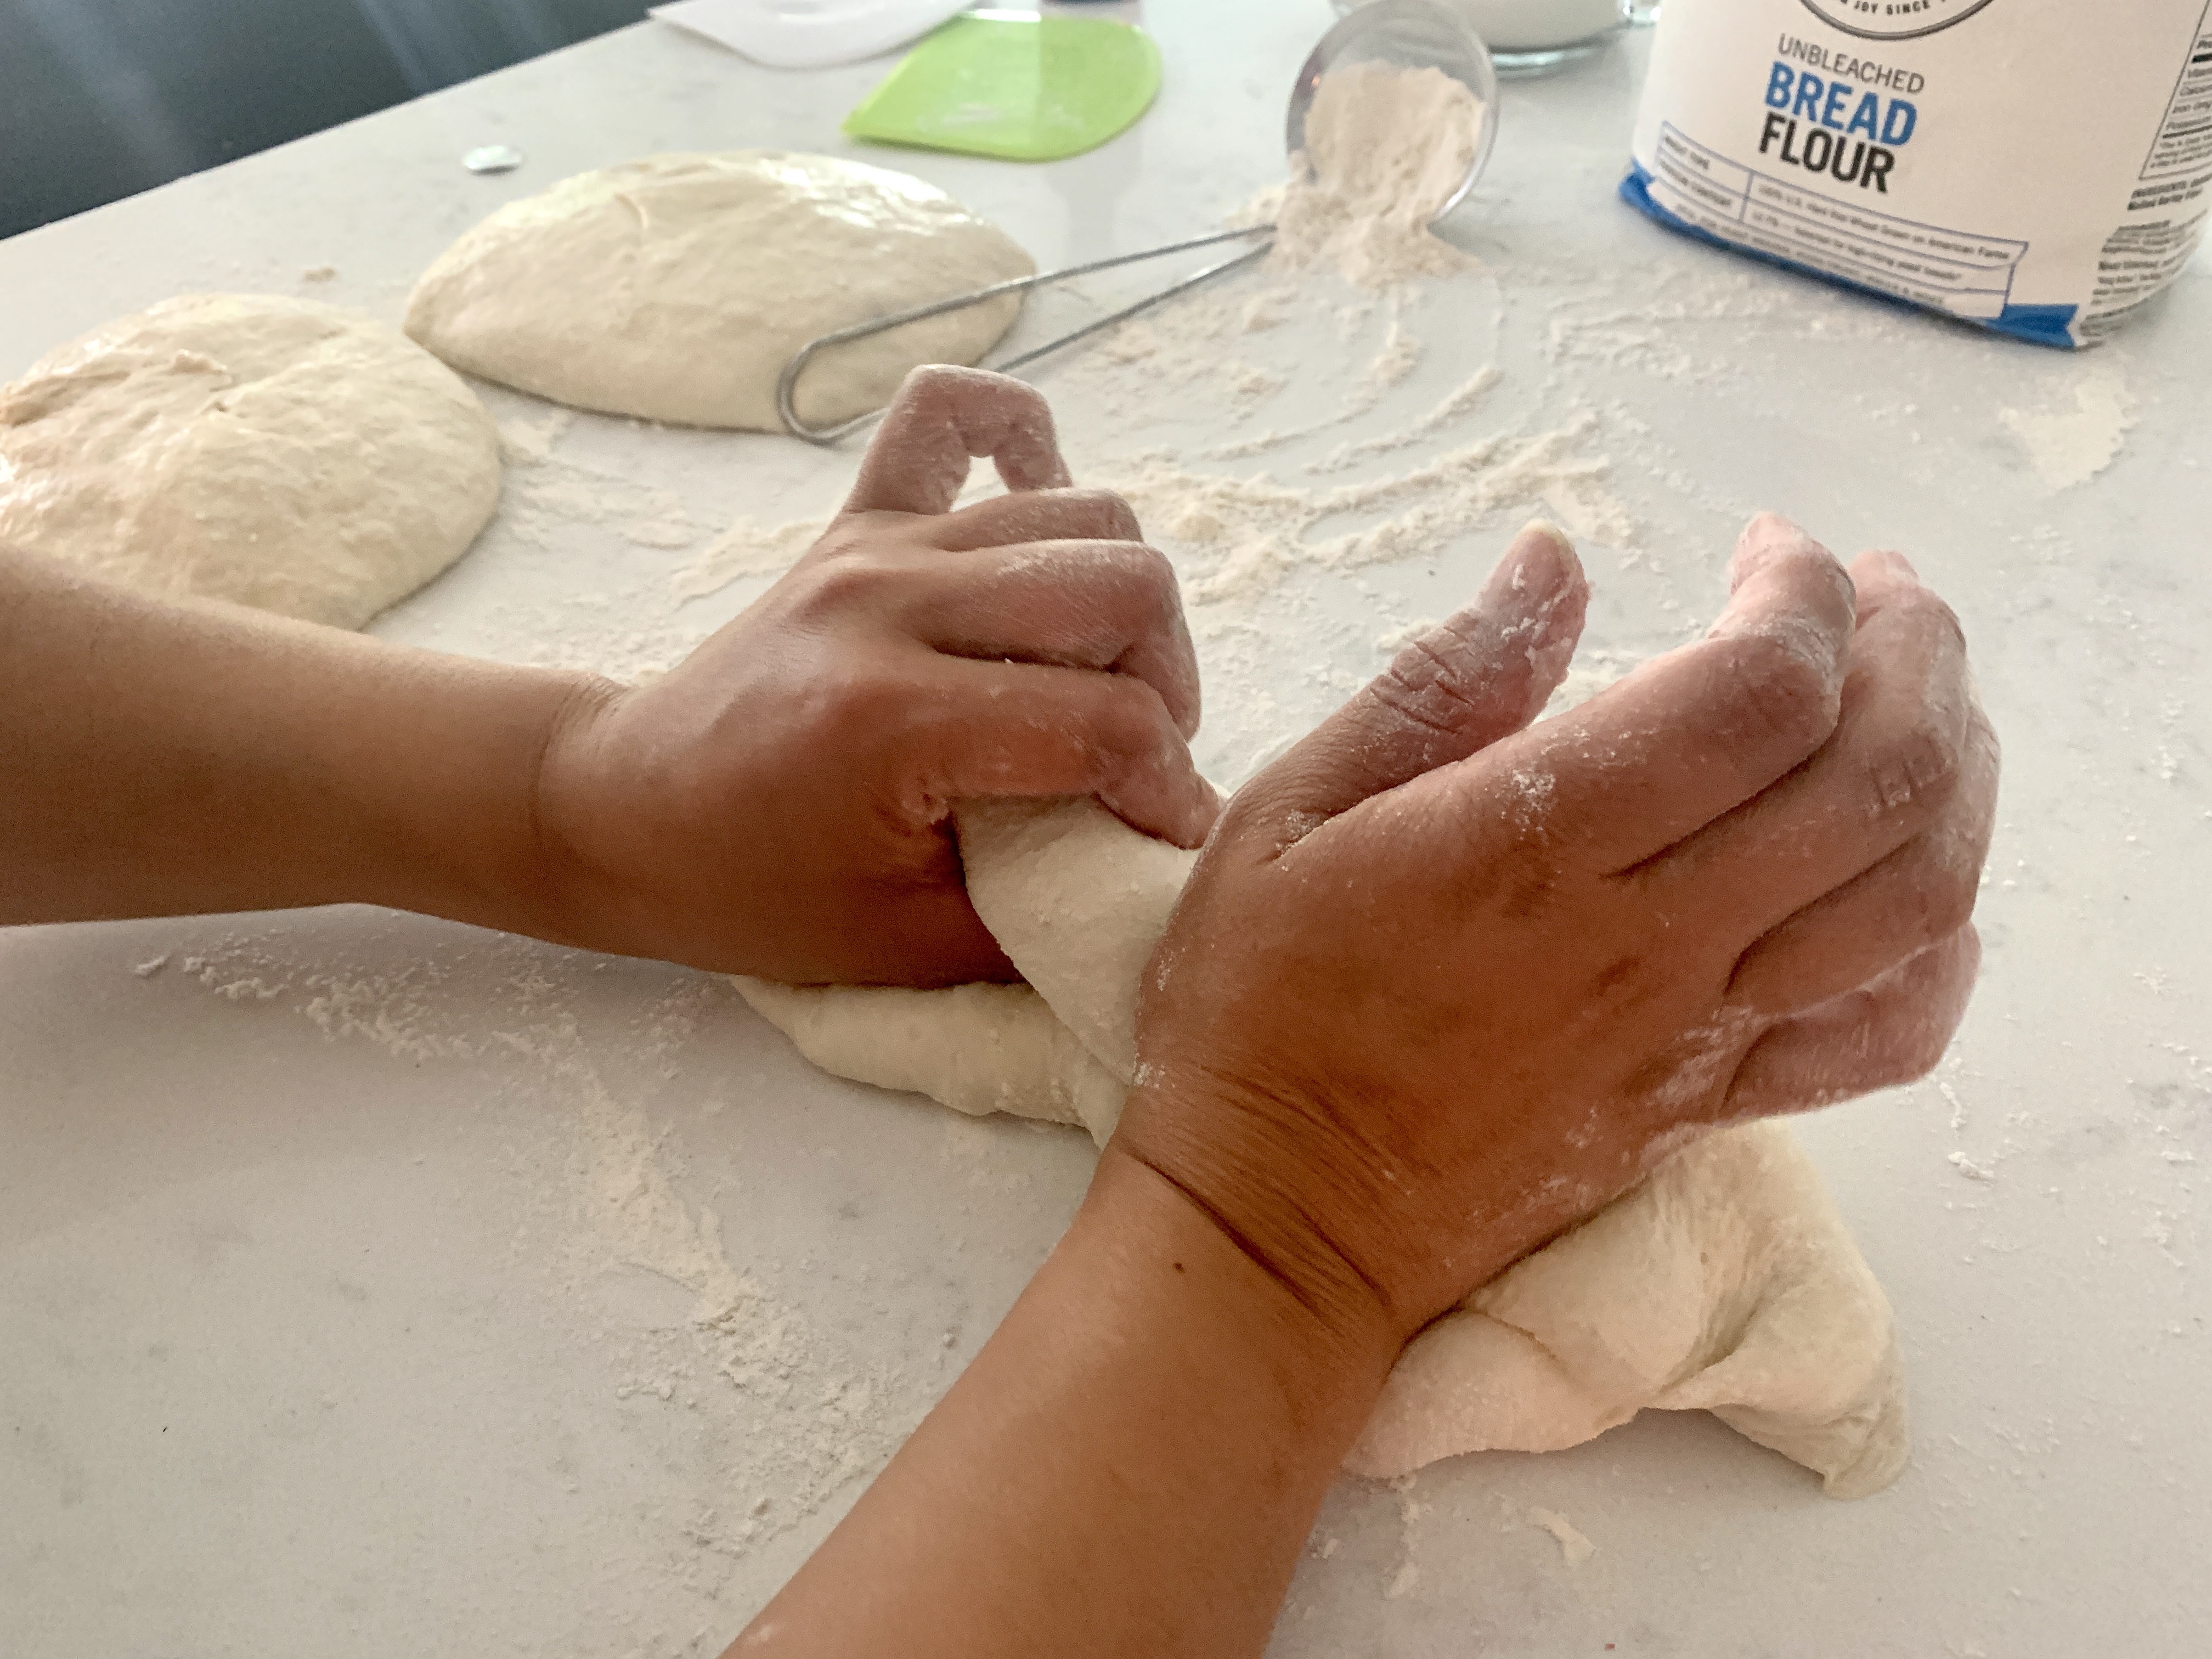
Step 4: Place both hands lightly in the middle of the baguettes with both wrists touching the work surface (this will help you to not put too much pressure on the dough). Lightly roll the baguette back and forth 2- 3 times to shape.
Next, keep stretching the dough by rolling lightly as you move your hands outward to create the desired shape. You are looking for the dough to have a long straight line with tapered edges.

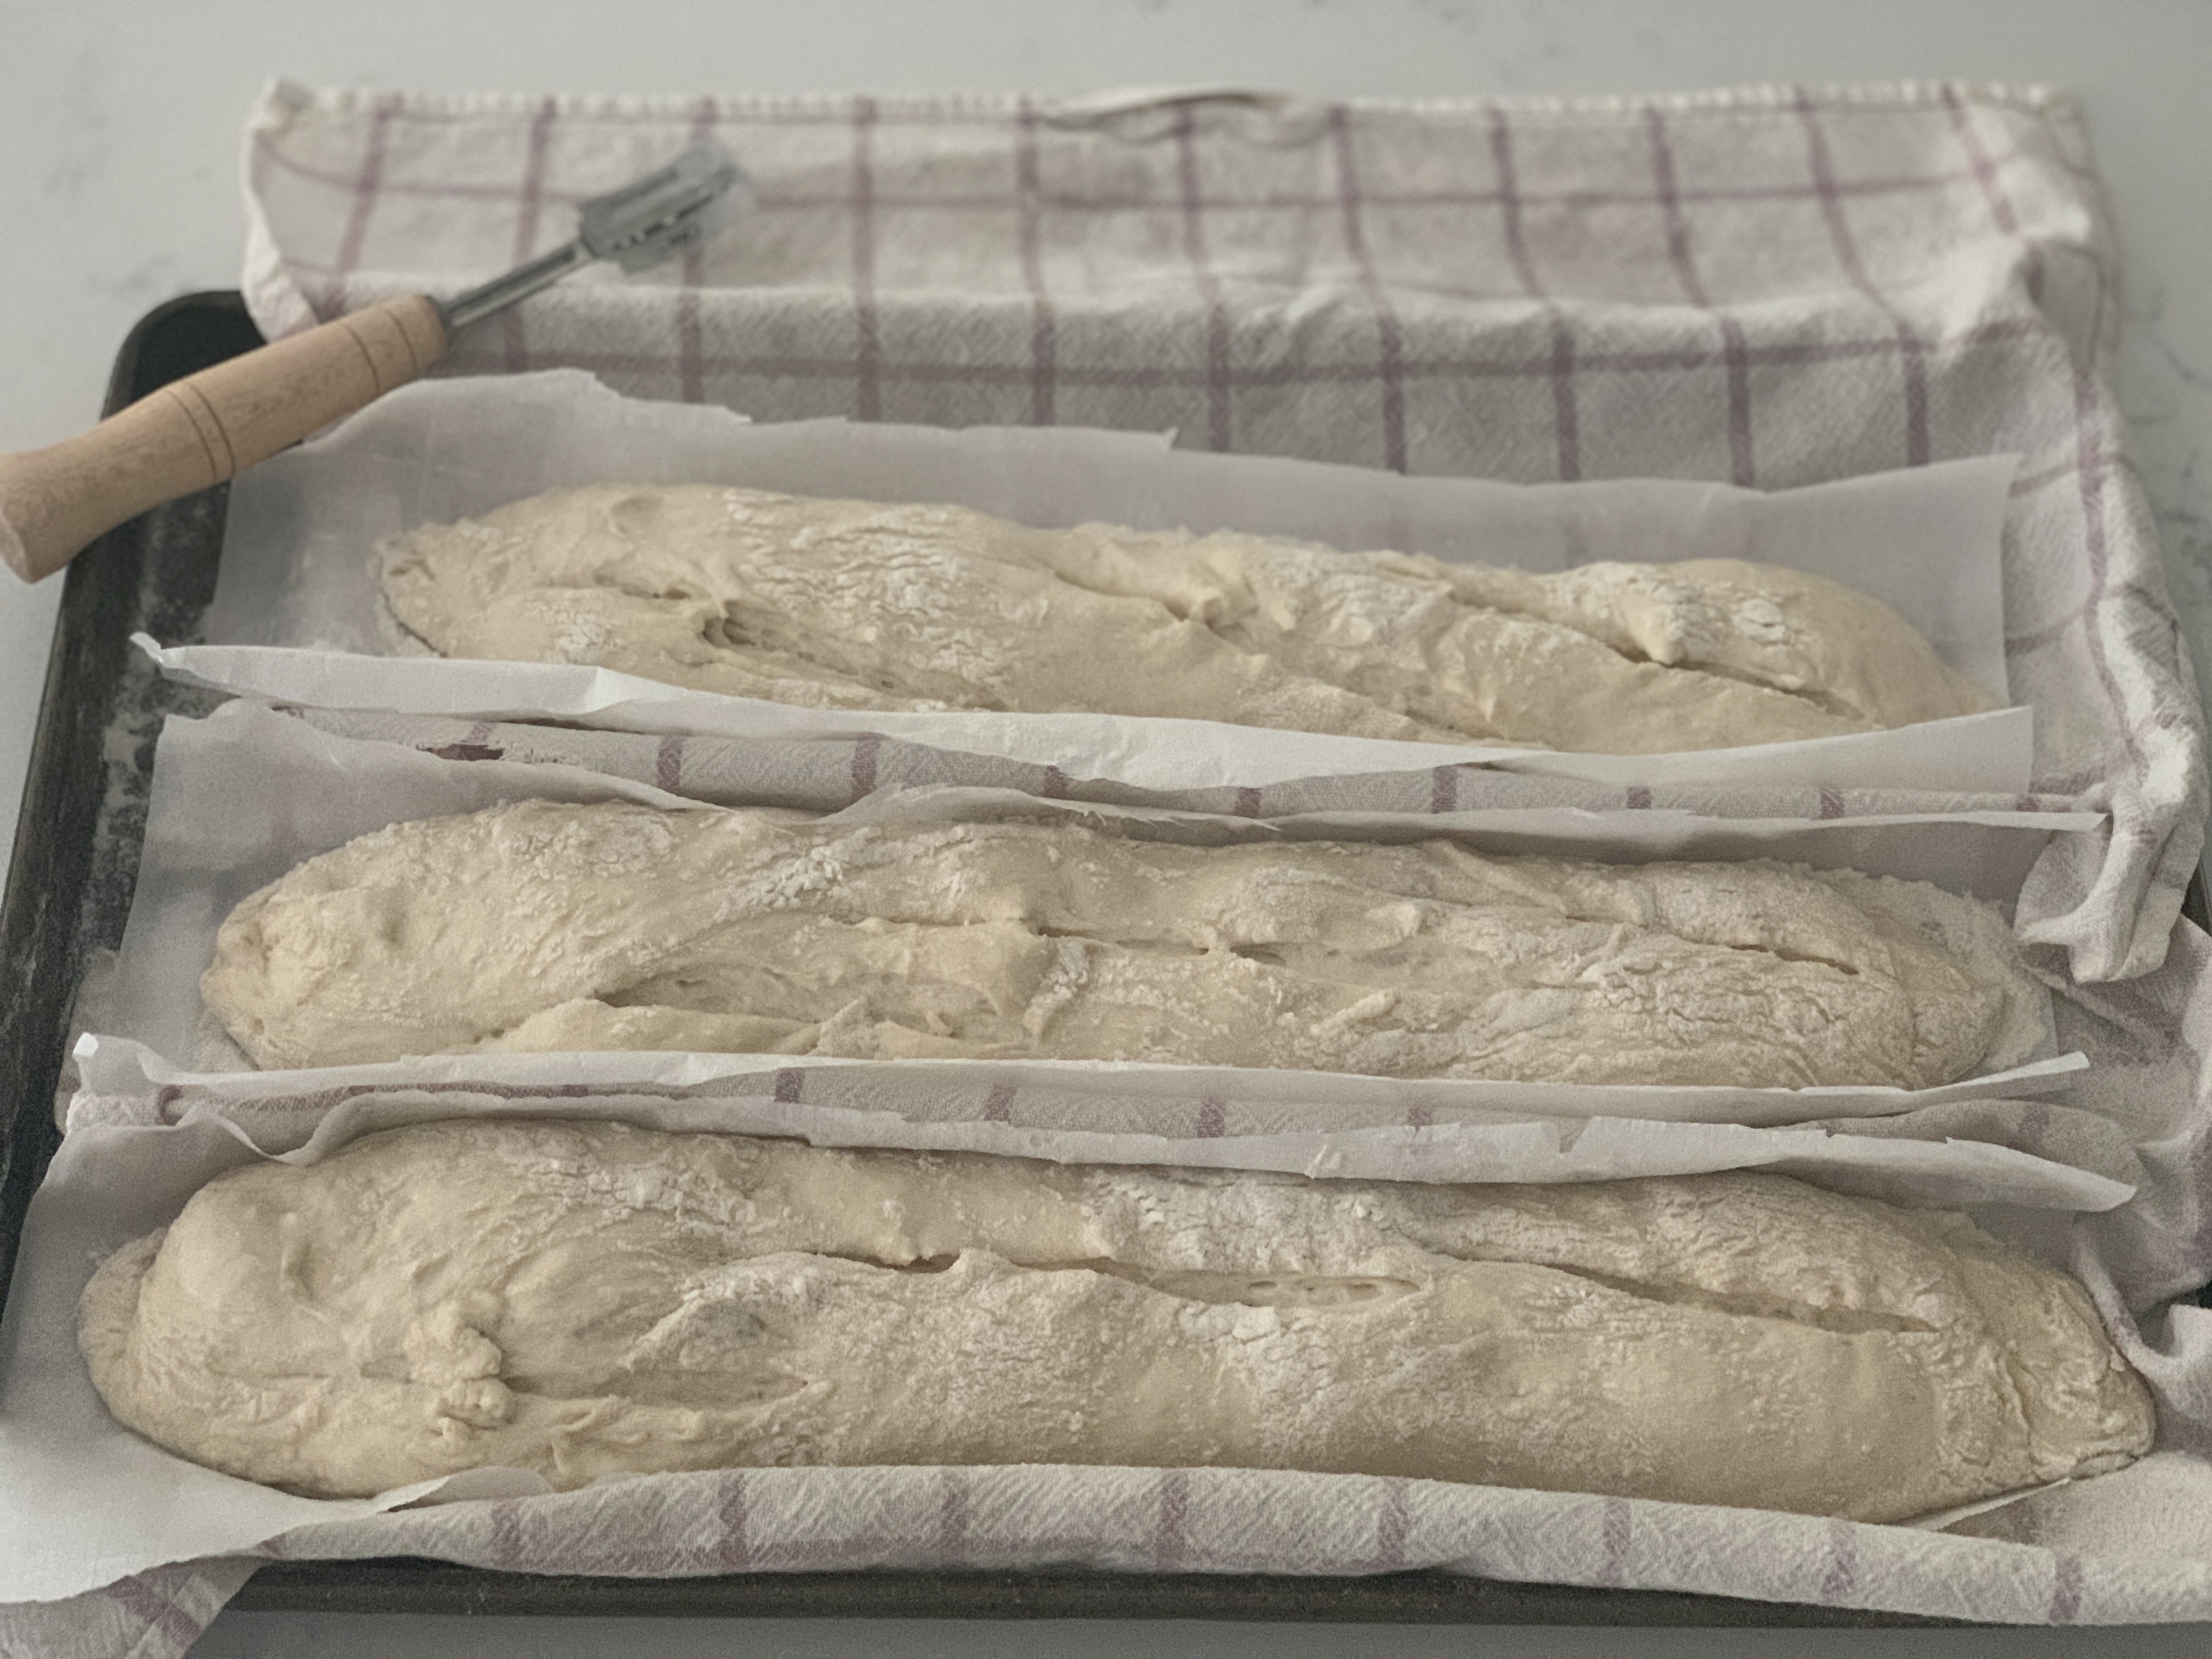
Step 5: Placed the baguettes on a floured parchment paper placed on top of a kitchen towel to create a makeshift baker couche. I didn’t want to buy a baguette pan or a baker’s couche so this method works well as a replacement. Pull up on the kitchen towel to create a barrier between each baguette, which also helps the dough to keep its form.
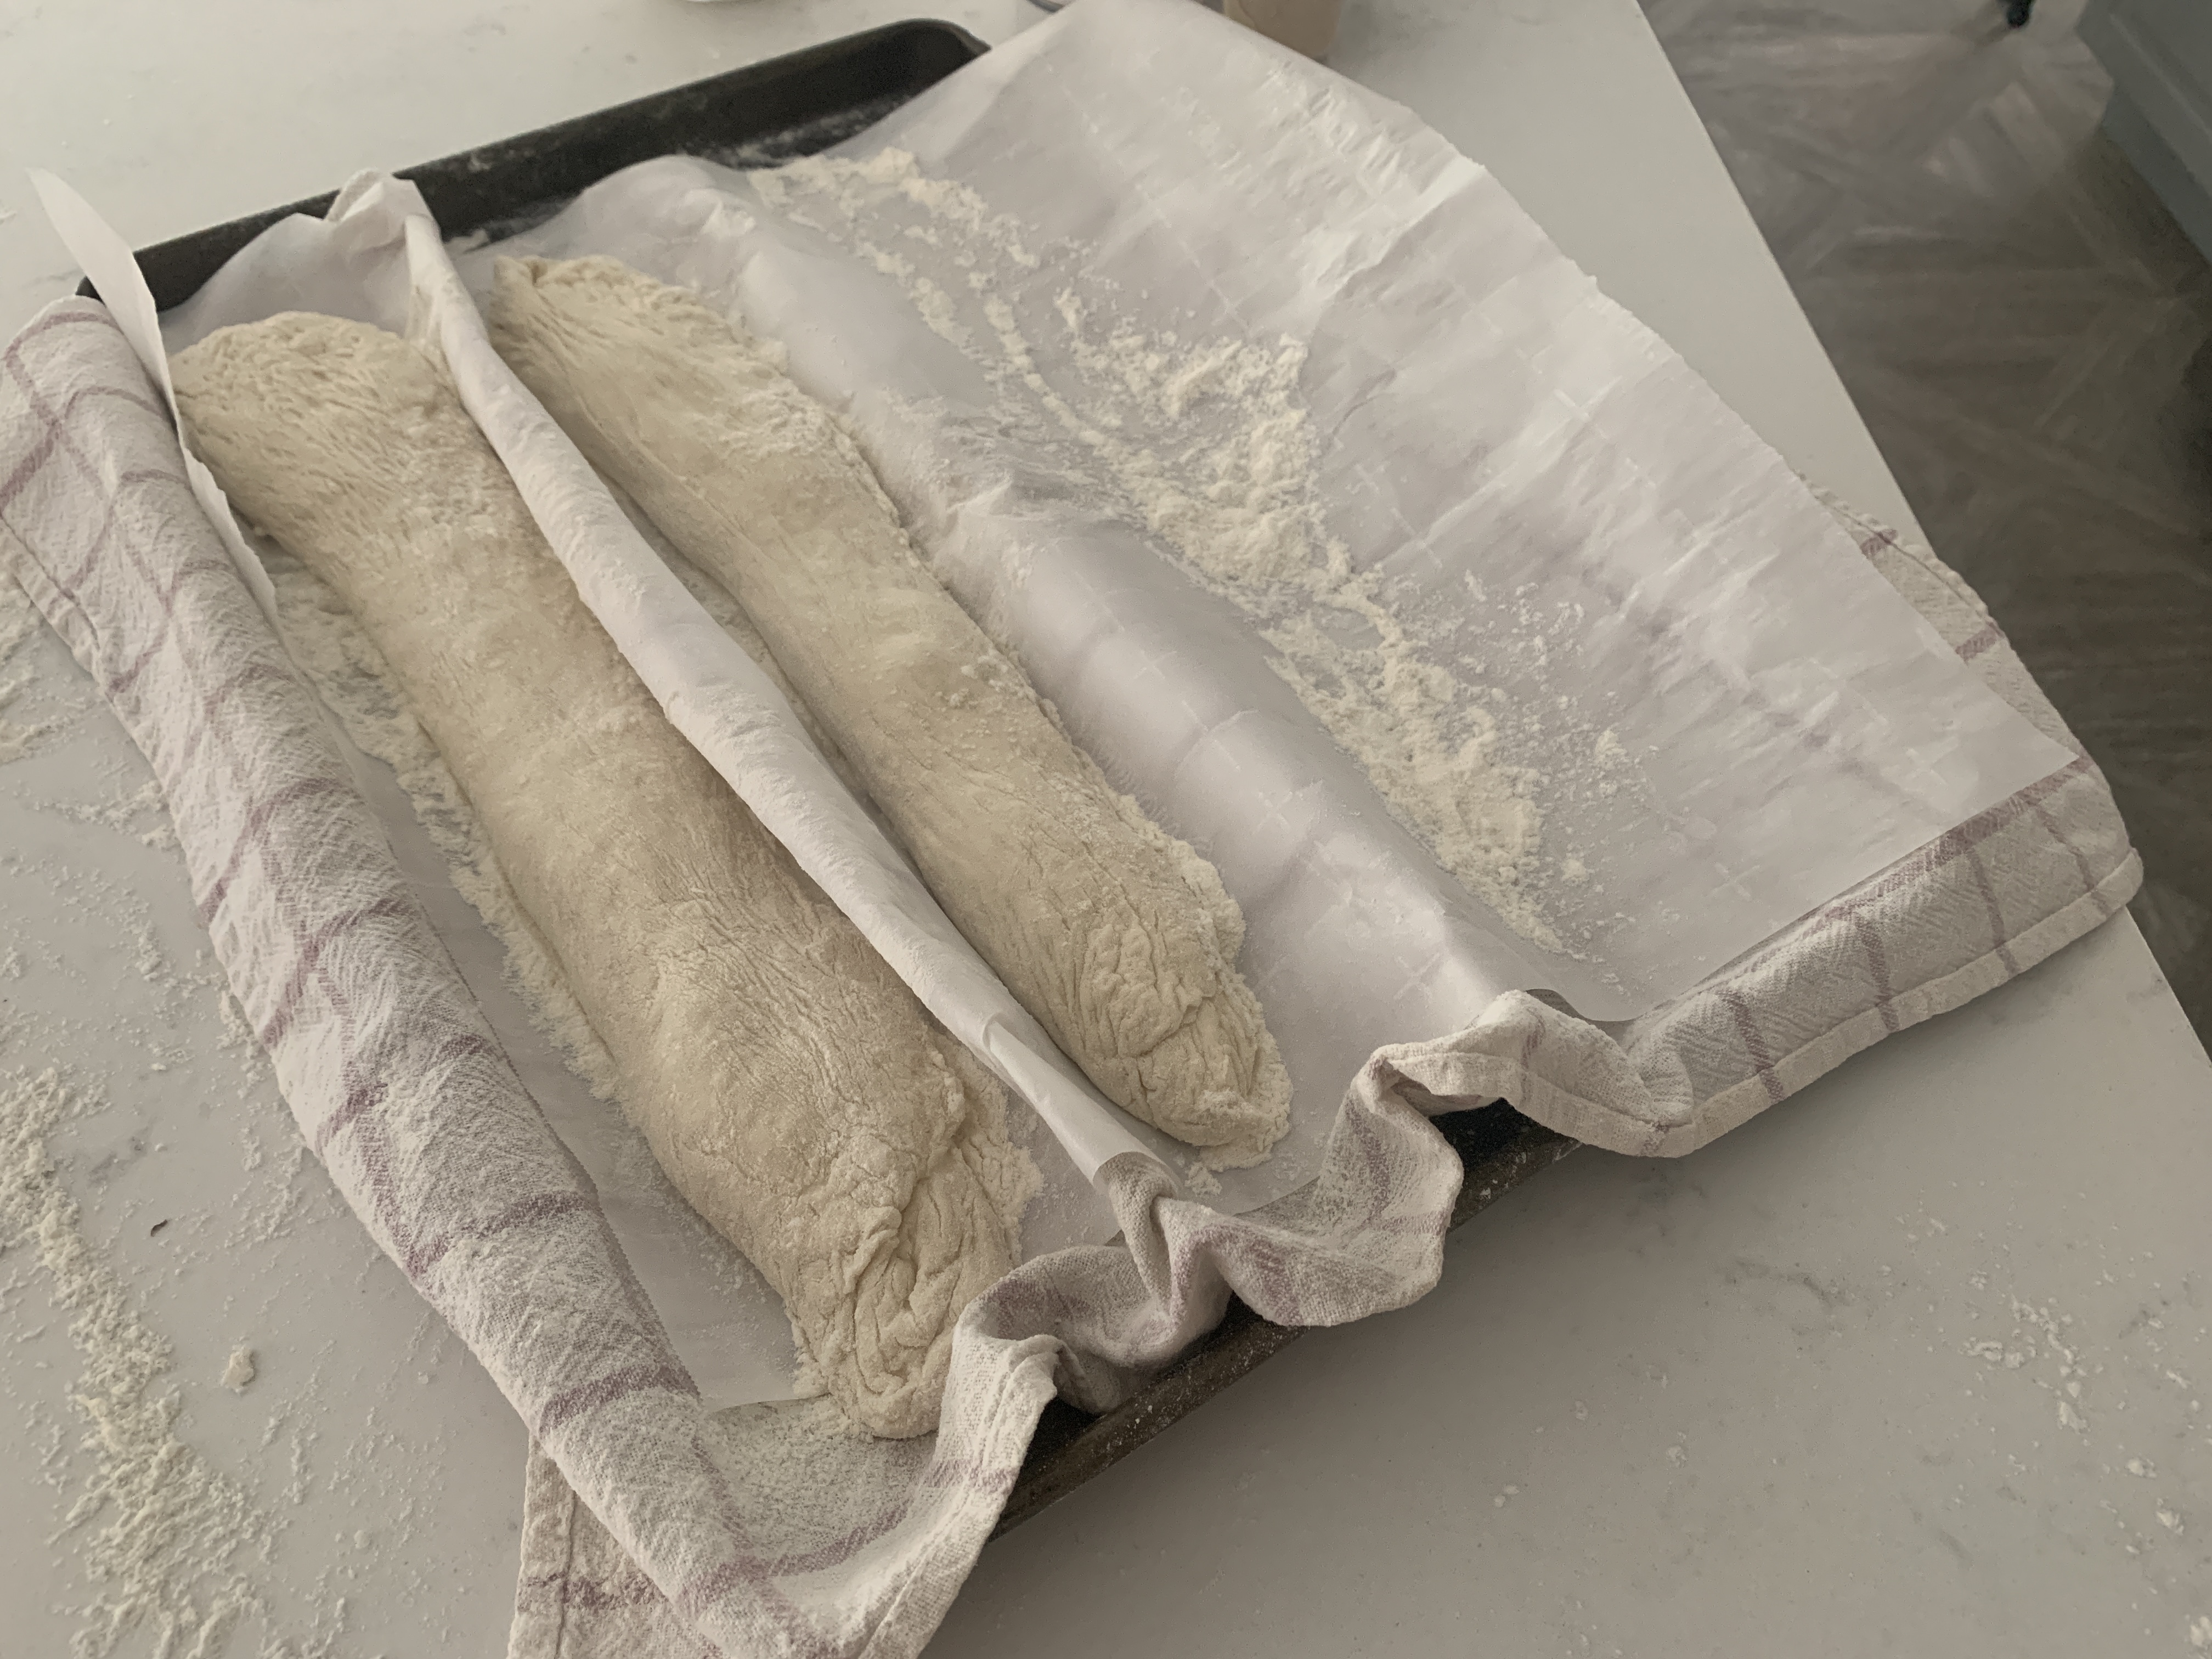
Cover with another kitchen towel and let the dough rest for another 1 hour.
Prepare the oven 30 minutes into the final 1 hour rest time:
Place a baking stone or a sheet pan upside down in the middle rack. Your oven should start cold so you do not crack the baking stone due to the fluctuation in temperature.
A) Add a tray filled with baking rocks (if you have them) to preheat underneath the baking stone or sheet pan. Prepare boiling water. OR
B) If you don’t have baking rocks, add a tray filled with hot water below the baking rack to preheat with the stone.
Prepare and preheat the oven to 500F. (It takes my oven around 30 minutes to fully preheat.)
Score the baguettes right before you put them into the oven.
- Prepare a water sprayer.
- Using a razor or the thinnest and sharpest knife that you have, make 3 slashes to the surface of your baguettes evenly spaced out. Do not cut it too deep or you will let too much air out and the baguettes will deflate. As this is a no-knead bread, there isn’t as much gluten holding the form together.
- Spray the slashes with some water. This will allow the bread to expand and not bake right away. The slashes and water will also help to create a light and fluffy bread.
* You will see that the bread has grown in size and doesn’t appear to have as much structure as a traditional baguette to hold itself up. That is why having a “couche” helps keep the baguette shape and using the parchment paper underneath will make it easier to maneuver the wet dough into the oven.
Bake the bread. Read this part carefully as this will be a quick process that requires a few steps.
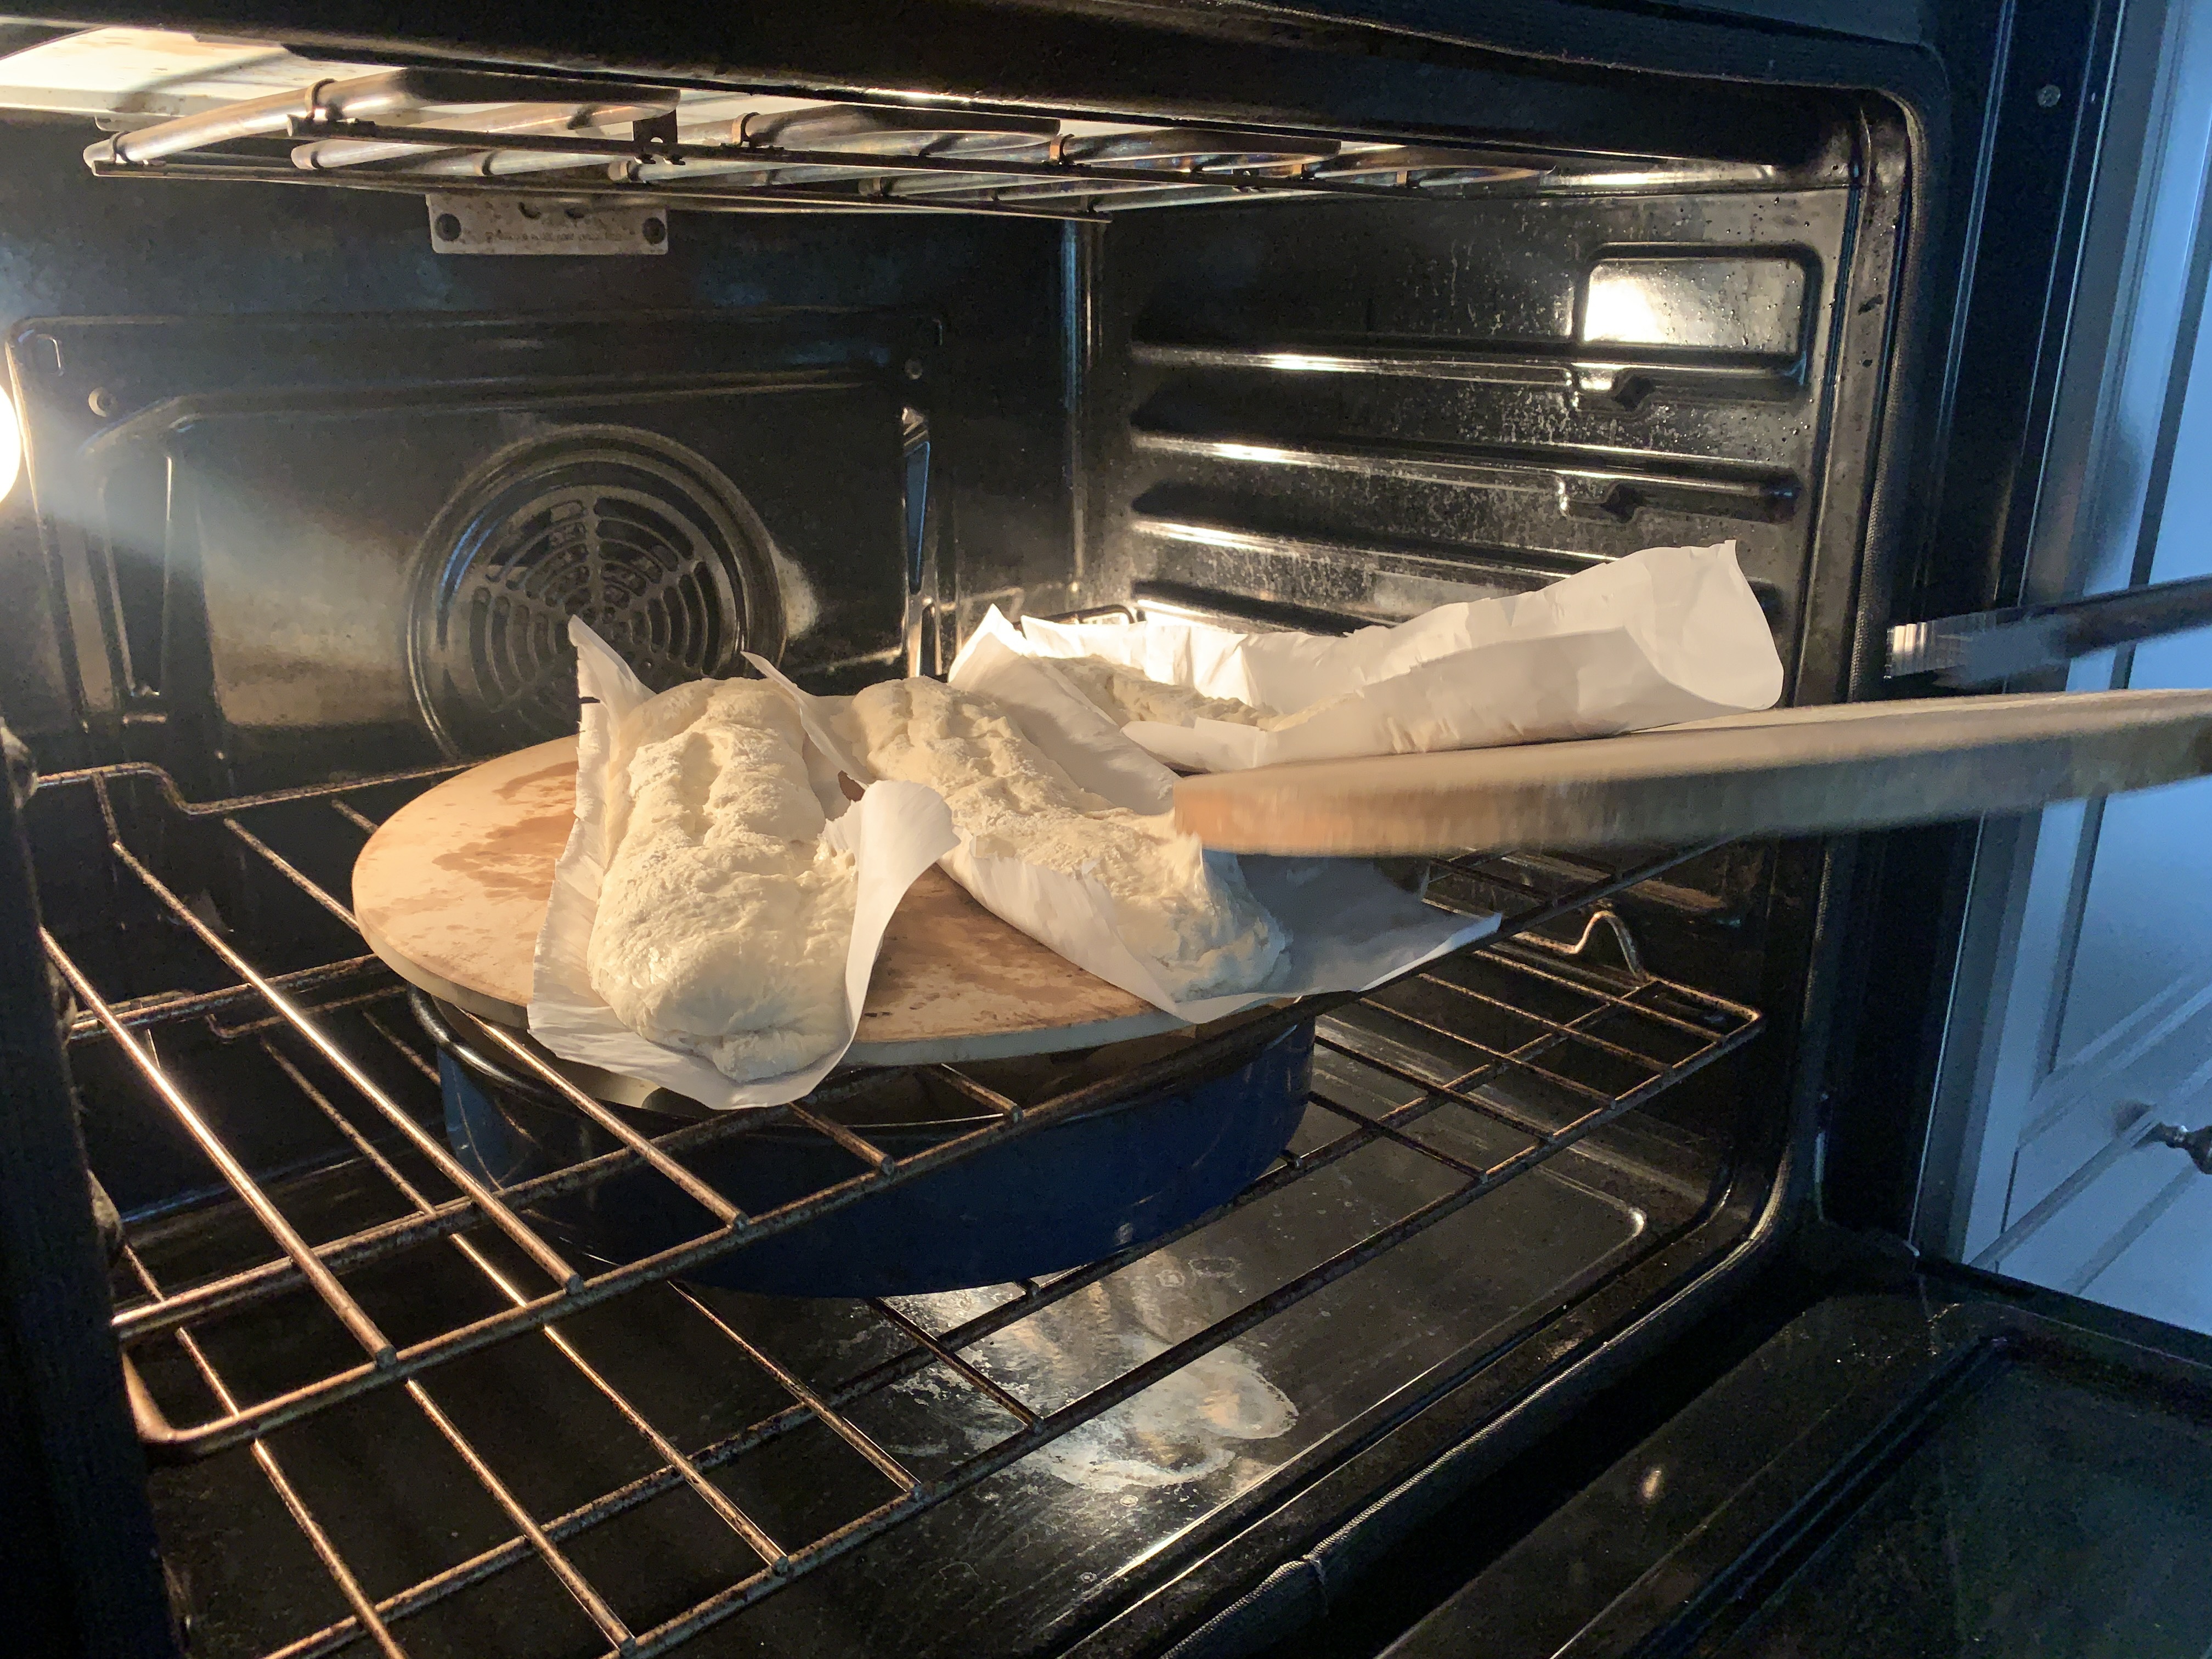
- Once the oven is preheated, cut the parchment paper so each bread is on an individual sheet. This makes it easier to move the baguettes into the oven.
- Use another tray or baker’s peel (board with a long handle) to quickly and carefully move the bread from the tray onto the baking stone or upside baking tray.
A) Add boiling water to the baking tray with the preheated rocks underneath and close the oven ASAP. Turn the temp to 485F and bake for 10 minutes. Do not open the oven. OR
B) If you don’t have a the tray with the baking rocks- Once you have placed the baguettes into the oven, quickly and vigorously spray the sides of the oven with water to create the initial burst of steam. Close the oven door ASAP.
- After 10 minutes, remove the water tray if there is still water left and move your baguettes around the oven. (Most ovens have hot spots. Moving them around will allow for even baking.) Turn the the temp down to 425F and bake for another 10-15 minutes depending on your preference for color.
- Optional: After the last 10 minutes, I like to flip my baguettes over to bake for another 2-3 minutes so the undersides can be crustier.

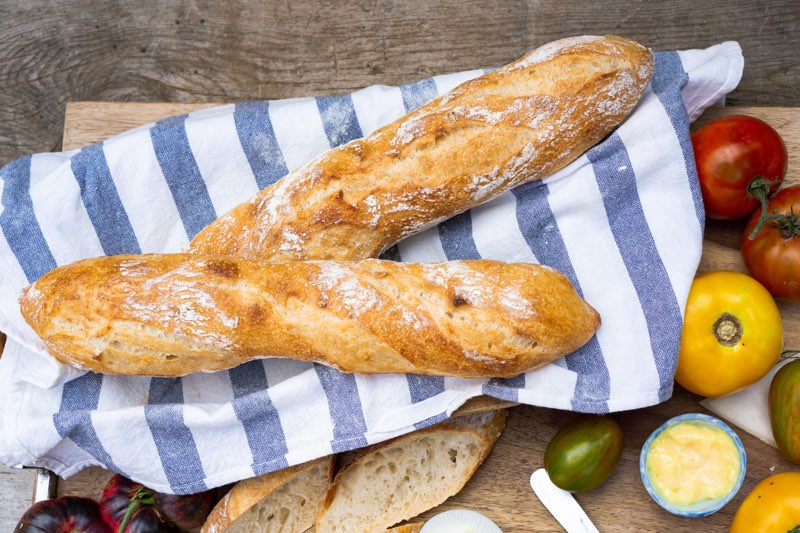
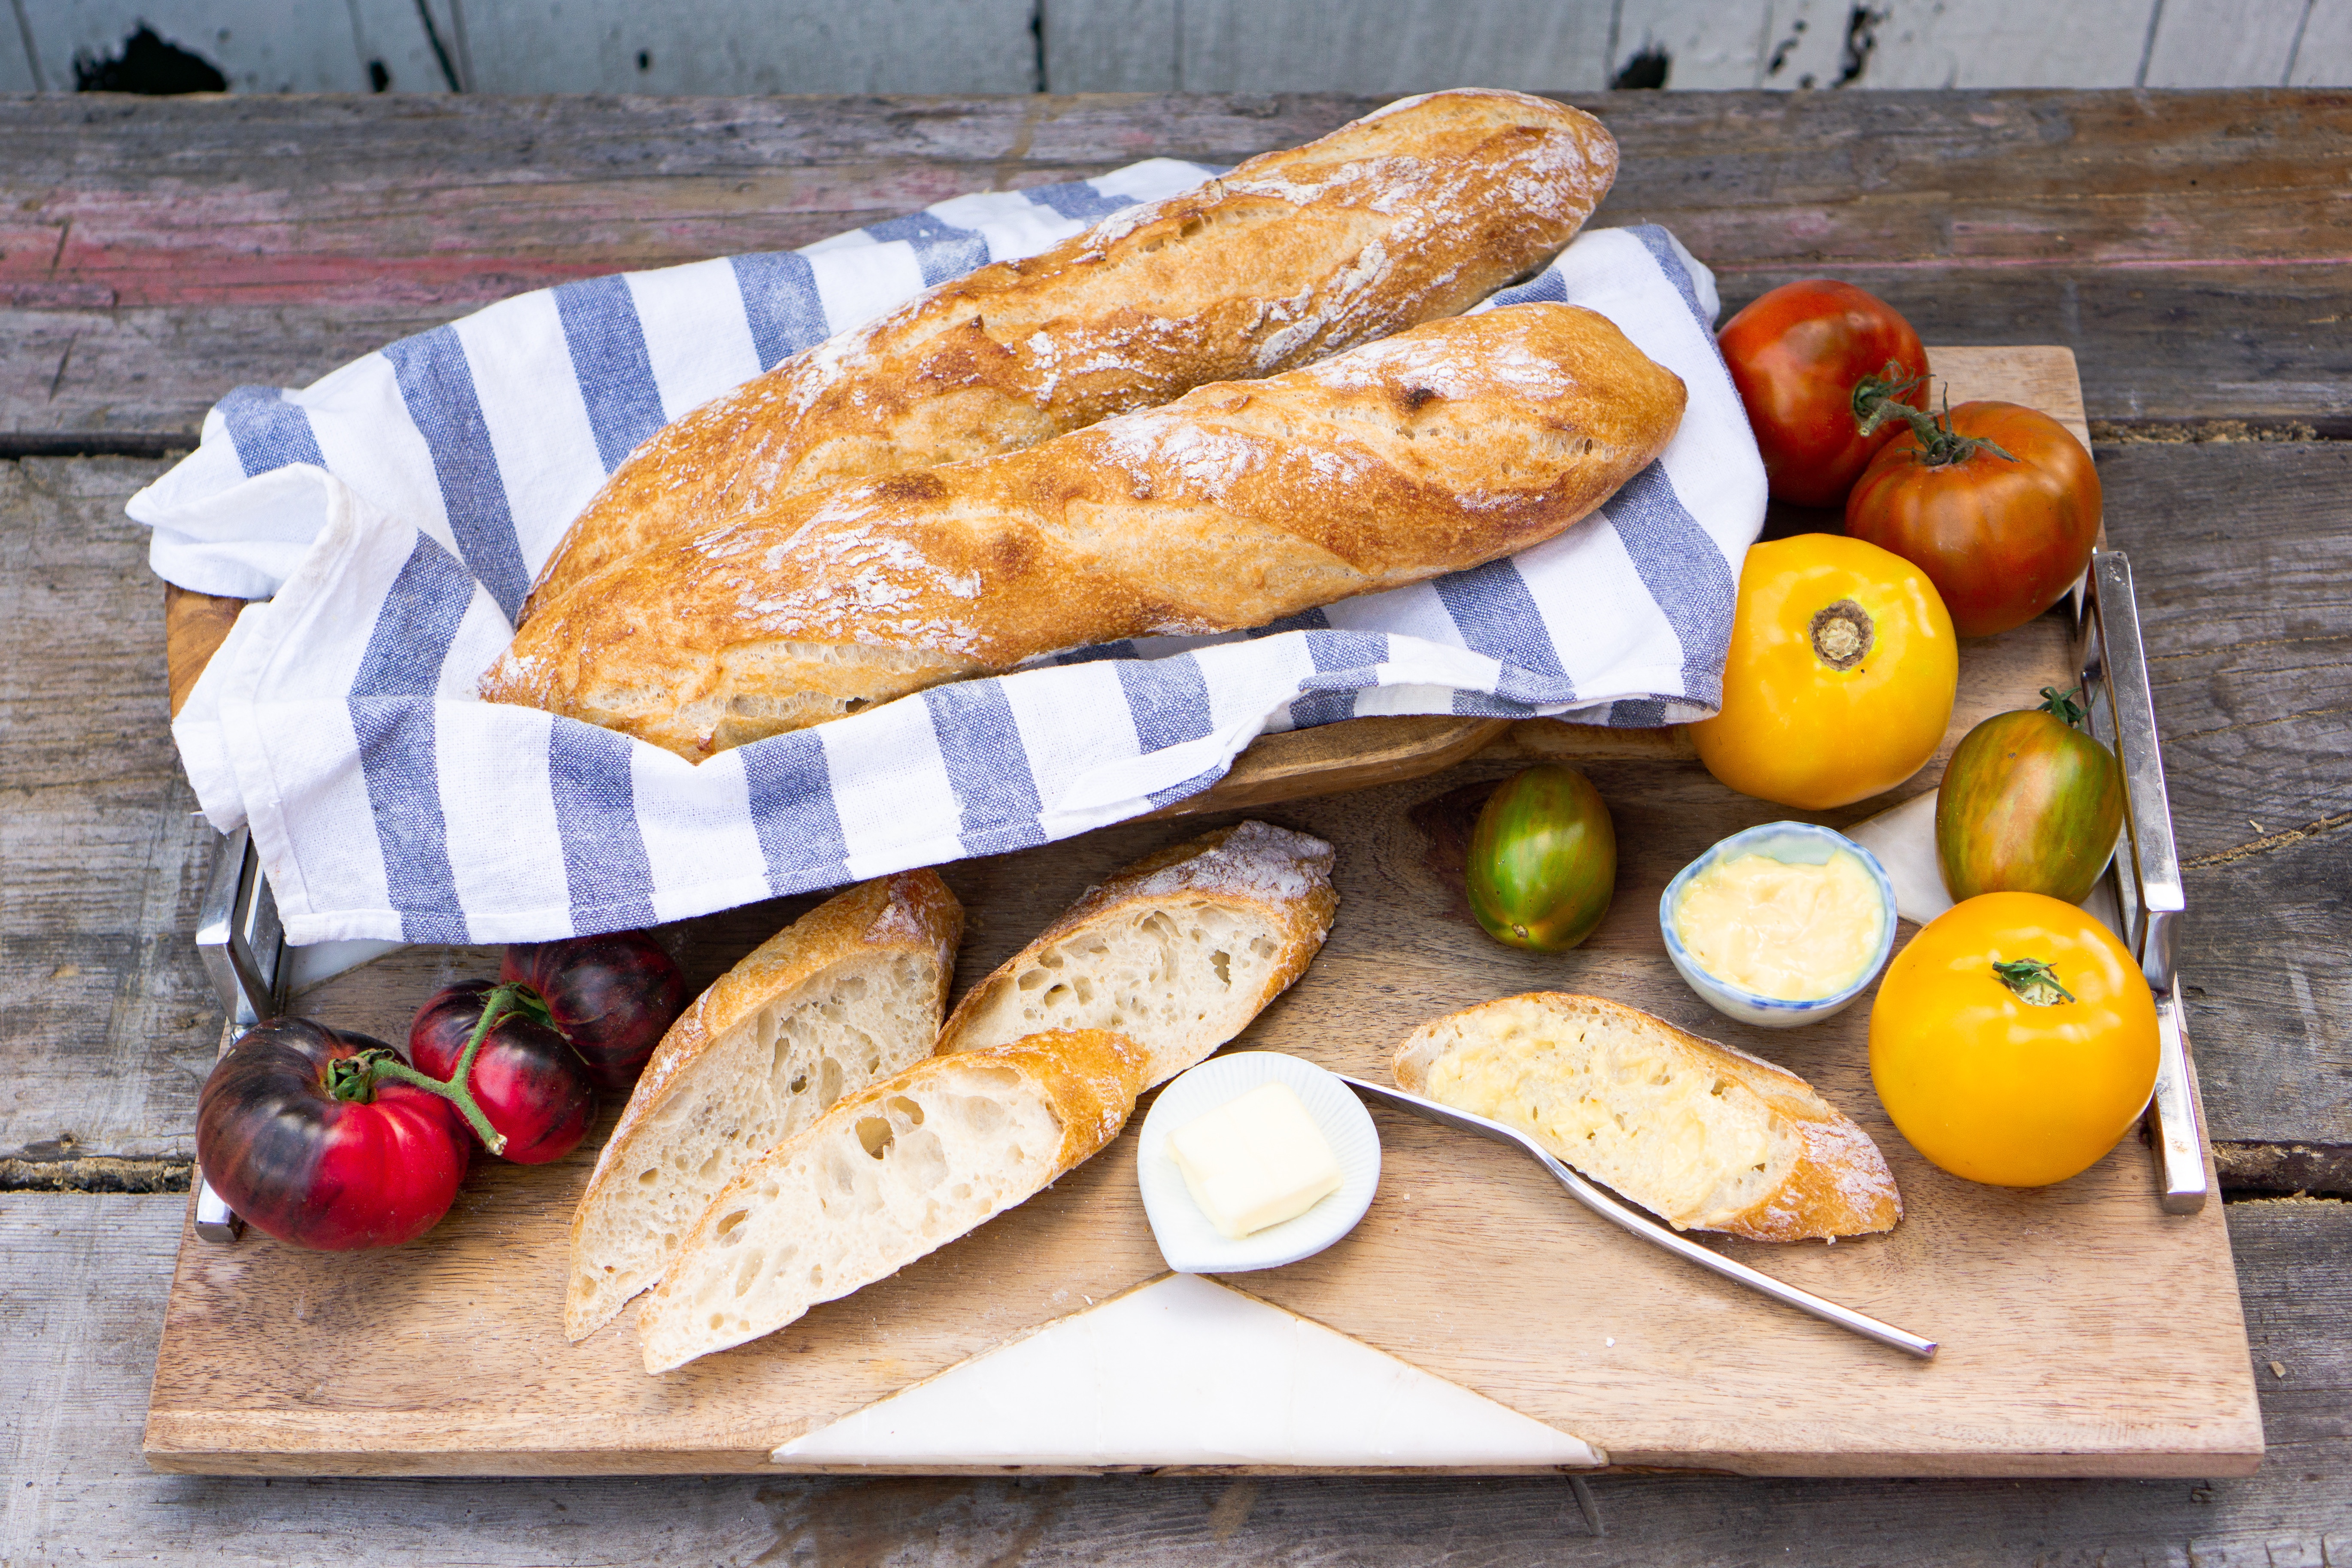
Remove from oven and let it cool before eating. Try this bread with our simple and addicting garlic mayonnaise. (Recipe here)
For more recipes, visit our EAT page or Recipe Index.
